October 27, 2009

What's Cookin'?

Chicken Alfredo Biscuit Casserole, that's what!  I made this for dinner last night and it was a hit with Chris. (and me!) It was very, very yummy and I'll be sure to add this to the regular rotation.


The recipe if from Pillsbury's Web site. I was in to mood for some chicken and biscuits, so I did some internet searching to find a decent recipe.  An Alfredo dish wasn't quite what I originally had in mind, but when I saw the recipe, I knew I had to give it a try.

Here's the recipe from Pillsbury:


Chicken Alfredo Biscuit Casserole


Parmesan-crusted biscuits top this mouthwatering chicken Alfredo casserole that is sure to become a family standby.
Prep Time:
15 Min
Total Time:
35 Min
Makes:
5 servings
INGREDIENTS
1tablespoon butter
2cups sliced fresh mushrooms
1/2cup chopped onion
1jar (16 oz) Alfredo pasta sauce
1/4cup milk
2cups chopped cooked chicken
2cups Green Giant® SELECT® frozen broccoli florets, thawed
1/4teaspoon dried basil leaves
1can (7.5 oz) Pillsbury® refrigerated buttermilk biscuits
1tablespoon butter, melted
1tablespoon grated Parmesan cheese
DIRECTIONS

1.Heat oven to 375°F. Spray 8-inch square (2-quart) glass baking dish with cooking spray.
2.In 10-inch nonstick skillet, melt 1 tablespoon butter over medium heat. Cook mushrooms and onion in butter, stirring occasionally, about 5 minutes or until tender. Stir in Alfredo sauce, milk, chicken, broccoli and basil. Cook until mixture is thoroughly heated and bubbly, stirring constantly. Spoon into baking dish.
3.Separate dough into 10 biscuits. Cut each biscuit in half crosswise. Arrange around edge of baking dish, overlapping slightly. Drizzle biscuits with melted butter; sprinkle with Parmesan cheese.
4.Bake 15 to 20 minutes or until biscuits are golden brown.

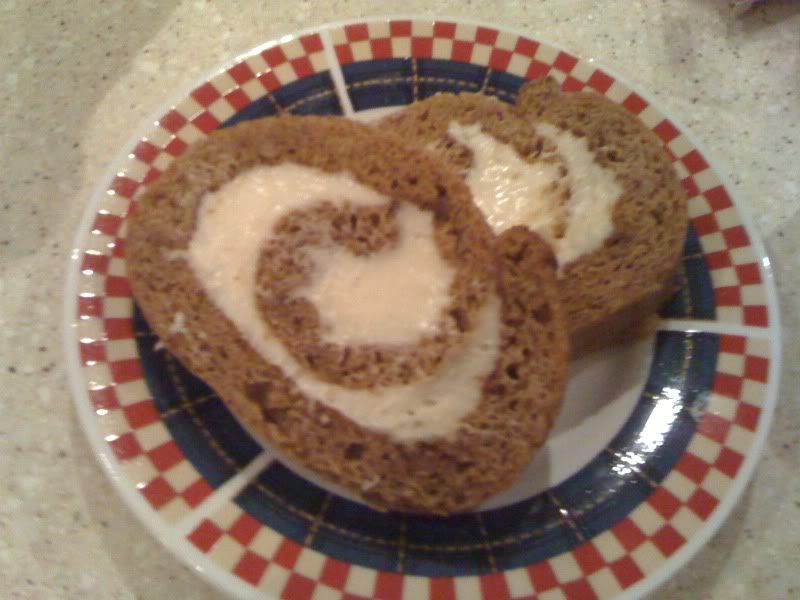
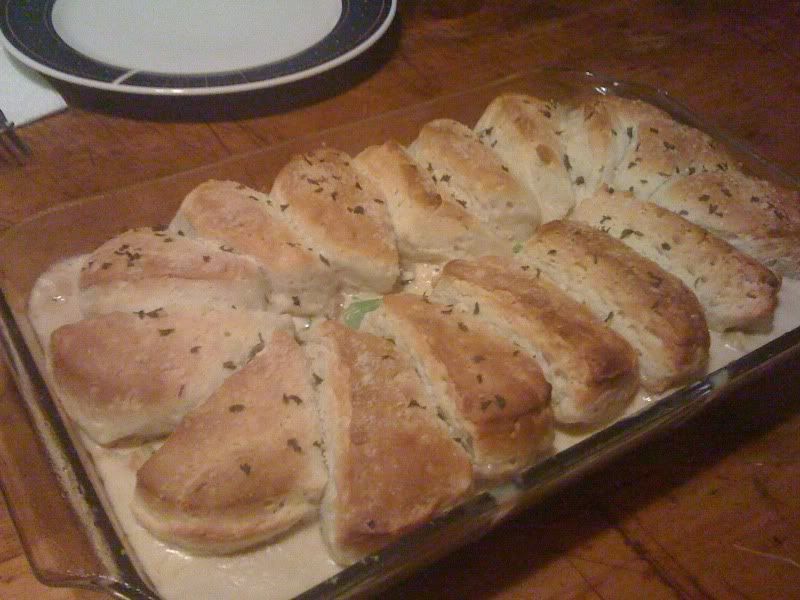
This is one of those comfort-food type recipes and it's great for whipping up for a quick, but home-cooked tasting meal.  I skipped the basil and added a few shakes of parsley flakes to the top for garnish.


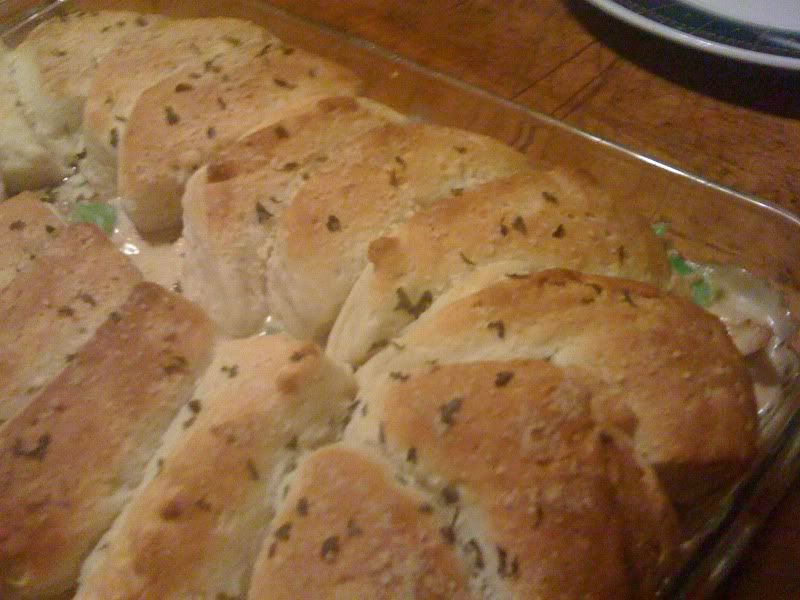
When I do this again, I will probably take off a few layers of the biscuits before baking (I used Grands) because their thickness left them a little doughy.  I didn't want to bake them any longer for fear of burning the tops. (It was in the oven for 20 minutes.)  Personally, I didn't mind the extra doughy-ness, but I'm not sure about others eating it and feeling the same way.


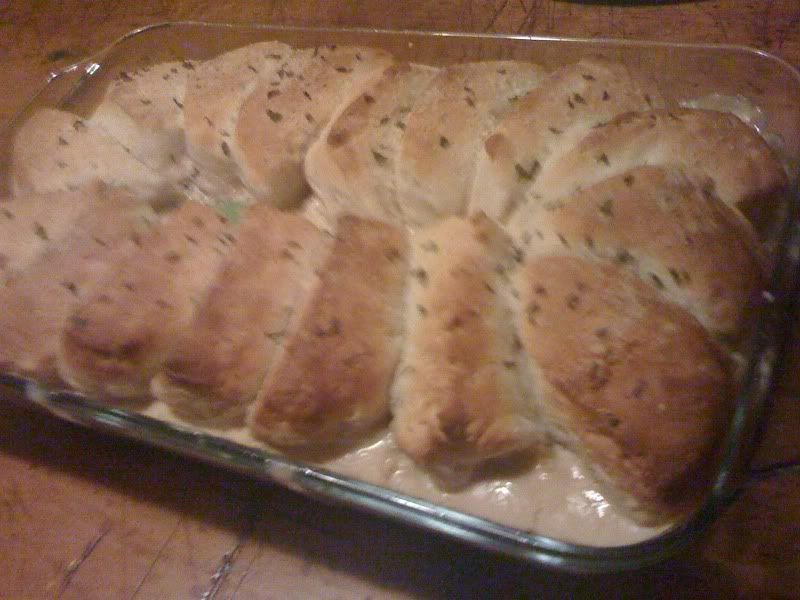
I love casseroles, especially when they are a complete meal.  And this was very easy.  It looked great, tasted great and filled the kitchen with a yummy smell.  All around yummy!  Thanks, Pillsbury!

October 21, 2009

Hole-y Moly!

One of the surprises that came with buying our home was when we discovered there was no insulation in the walls of the house.  Although it has a solid brick exterior, we were worried about how the lack of insulation would impact our home heating costs over the winter.

We got some quotes on getting the insulation blown in and were then surprised by the costs.  Spending almost $3K was not part of our home renovation budget and we wondered if the energy savings would ever pay off if we only stay in the house for 5-10 years.

We were able to work out a deal with an insulation professional to get it done for a much more reasonable price if we did some of the work ourselves, so we went for it.

Because of the brick exterior, our option for getting the insulation blown in was to drill holes on the interior of the house between every stud on exterior walls.  The bit we used was a 2-inch carbide hole saw bit and Chris went to town turning out walls into swiss cheese.  Actually, it wasn't as bad as I thought it would be.  The holes were drilled towards the top of the wall for the majority of the studs.  He had to drill holes closer the the bottom of the wall where there were windows.


Chris working hard, drilling the holes.


Holes at the top.


Holes in the master bedroom.


This is the big truck in our driveway.  This housed the bags of insulation and the machine that fed the hose.


Blowing in the insulation.


Holes after they are filled and plugged.


The plugs were made from a sheet of insulation board.  They used a hole saw bit slightly larger than the size of the hole to make sure they were a snug fit.  The plugs were wedged in and recessed by 1/8" or 1/4"

I didn't go around and count the holes, but I'm guessing there are about 100 - 125 throughout the house.  And I will admit to feeling terrified over the thought of drilling that many 2" holes in the walls.  I guess it's not as bad as I thought it would be, but it's going to take some work to make the holes disappear.

We spent about two hours last night filling them with drywall compound.  Since the holes are so big, it will probably be a couple of days before they are dry and ready for the next coat.  We are hoping two or three coats does the trick.

Insulating the house puts us one step closer to painting (and I've been dying to paint since we first looked at this place!)  This week's plan is to finish hiding the holes and getting the remainder of the walls prepped for priming.  I can't tell you how much I'm looking forward to getting rid of the yellow, orange and blue walls!

October 20, 2009

Baby Blanket Gift: The Finished Product

I finished knitting the baby blanket a while ago, but forgot to share pictures.  The final product turned our really nice!  It was one of about 6 or so hand-knit or crocheted baby blankets Erin received at her shower.  (Lucky girl, huh?)

Here it is in all of it's completed glory:


October 18, 2009

The Baby Shower Cake Reveal

DIY Day @ ASPTL


I decided to join in the fun on A Soft Place to Land's DIY Day. I figured I'd use this post for my first time participating.


I was so excited to have the opportunity to make a cake for Erin's  baby shower!  I started last Tuesday by baking and freezing the cakes.  On Thursday, I made the marshmallow fondant and some butter cream icing.  Then, on Friday, I put the cakes together and decorated them.

The process was long, but I enjoyed the creative outlet.  I experimented with several new things for this cake and was really pleased with the results.  So, without dragging it out any farther,  here is the cake:


And, in case you can't make out the little guy on top, here is a close-up of that:


I modeled the lady bug after the one on the nursery set (pink and red flowers are from it, too) and the baby booties are made from a template I found on Cake Central.  The cake is covered in fondant and the 3D accents are all made from gumpaste.  The pearl dragees are left over from my wedding cake and I used the dot impression mat to make them look so perfectly spaced.

Some more details:


And, all cut up, ready to be enjoyed!


Top slice (top tier of the cake) is white cake with butter creme and strawberry filling.
Middle slices  (bottom tier) are chocolate fudge cake with chocolate butter creme filling.
Bottom slices (middle tier) are yellow cake with Oreo creme filing.

All were yummy!

October 13, 2009

Kitchen Envy

I really wish our house had a bigger kitchen.  When it's finished, it will be very tight on space for storage and moving around.  I also wish we had a little more freedom with options for storage and such.  We will have one wall of mostly appliances and the sink, so we plan to install a peninsula counter so we can have the extra cabinet space.  I would love to have a pantry, but there just isn't room.  Our kitchen will never be anyone's dream kitchen.

All of this doesn't stop me from dreaming of kitchens.  Kitchens that make me want to spend an entire day baking and cooking.  Kitchens that make me want to sleep in them so I never have to leave them.  Kitchens that make me want to try new things.  Kitchens like these:


I love the little breakfast table and the cream cabinets.  The whole look here is very light, airy and slightly country.  I would love to have glass doors on some of our cabinets, too.


And this one feeds my apron-loving, retro-wannabe, stay-at-home wife, happy homemaker fantasies.  That blue is the perfect shade of retro kitchen blue.  And, I adore the open shelving.  The way this kitchen is set up, it reminds me of a 50's diner.  I love it!

October 11, 2009

I Made a Pumpkin Roll!


And it turned out great!  It looked good and it tasted good.  Woohoo!  I used the following recipe from Libby's Web site.  (I figured the recipe should be good since they are the authority on pumpkin products.)


LIBBY'S® Pumpkin Roll
Prep: 45 min
Cooking: 13 min
Cooling time: 1 hrs refrigerating
Yields: 10


Ingredients
CAKE
·         1/4 cup powdered sugar (to sprinkle on towel)
·         3/4 cup all-purpose flour
·         1/2 teaspoon baking powder
·         1/2 teaspoon baking soda
·         1/2 teaspoon ground cinnamon
·         1/2 teaspoon ground cloves
·         1/4 teaspoon salt
·         3 large eggs
·         1 cup granulated sugar
·         2/3 cup LIBBY'S® 100% Pure Pumpkin
·         1 cup walnuts, chopped (optional)
FILLING
·         1 pkg. (8 oz.) cream cheese, at room temperature
·         1 cup powdered sugar, sifted
·         6 tablespoons butter or margarine, softened
·         1 teaspoon vanilla extract
·         Powdered sugar (optional for decoration)


Directions
FOR CAKE:
PREHEAT
 oven to 375° F. Grease 15 x 10-inch jelly-roll pan; line with wax paper. Grease and flour paper. Sprinkle a thin, cotton kitchen towel with powdered sugar.

COMBINE flour, baking powder, baking soda, cinnamon, cloves and salt in small bowl. Beat eggs and granulated sugar in large mixer bowl until thick. Beat in pumpkin. Stir in flour mixture. Spread evenly into prepared pan. Sprinkle with nuts.

BAKE for 13 to 15 minutes or until top of cake springs back when touched. (If using a dark-colored pan, begin checking for doneness at 11 minutes.) Immediately loosen and turn cake onto prepared towel. Carefully peel off paper. Roll up cake and towel together, starting with narrow end. Cool on wire rack.

FOR FILLING:
BEAT
 cream cheese, 1 cup powdered sugar, butter and vanilla extract in small mixer bowl until smooth. Carefully unroll cake. Spread cream cheese mixture over cake. Reroll cake. Wrap in plastic wrap and refrigerate at least one hour. Sprinkle with powdered sugar before serving, if desired.

COOKING TIP:
Be sure to put enough powdered sugar on the towel when rolling up the cake so it will not stick.

Remember to follow baking instructions before consuming.


I was really surprised by how easy this was.  Pumpkin rolls look so much more difficult to make than they really are.  I'm really glad I gave this a try.  Now, I'm planning on making some rolls for the holidays.  I think one would go over great at my in-laws for Thanksgiving, and I'd love to have one or two made up and in the freezer, ready for when we have company.


Oh, and I do have some pictures from when I sliced up some for Chris and my dad.  


Yummy!

October 6, 2009

Baby Cake

I've been assigned to make the cake for my friend's upcoming baby shower.  (for the same friend who will be getting the hand-knit baby blanket)  I have been dreaming up ideas to make this cake awesome.  I know she's having a girl and I know the theme of her shower is ladybugs.  There will be lots of pink stuff with white polka-dots in the decorations and there was talk of getting some ladybug mylar balloons.  I was also told that light green will be an accent color.

I searched through her registry at Baby's R Us and found a picture of her nursery ensemble.  I'm guessing this was the inspiration for the shower.  Check out the rug from the collection:


I would love to incorporate that ladybug into her cake as a surprise.  Maybe I could make one out of gumpaste and use it for a cake topper?  I also think the flower would make for a cute accent.

I just ordered some new food colorings, edible ink pens, and cardboard circles from Sugar Craft to help me put this cake together.  Right now, I'm thinking of making it three tiers, each with a different flavor cake, and making the middle tier twice the height as the bottom and top tiers.

While I was shopping online for cake supplies, I also came across impression mats.  I ordered ones to help me make dots and diamonds.  I figured this would allow me make some properly-spaced polka-dots and the diamonds would help make the cake ultra-girly.  I'm really excited to try them out.


I'm going to start baking and freezing the cakes soon.  At the request of the mom-to-be, they will be white, chocolate and yellow cakes.  I'm thinking I might play around with the fillings because I've never been to creative with combinations.  My usual is standard buttercream or chocolate buttercream.  I might try oreo cream filling or Kahlua cream cheese frosting.  I'm going to have to experiment with different flavors and see what tastes best with each cake.

What are your favorite cake flavor/filling combinations?

October 1, 2009

Aprons make me happy

In the last few years, I've started an apron collection.  I love them!  It started with a cute one I found at Target and spiraled into an obsession.  I only have two that were purchased new from the store.  All of the rest are vintage styles I picked up at thrift stores and consignment shops.  I probably have close to 20 right now and I'm always looking for more.  I can't wait to go all June Cleaver or Donna Reed in the kitchen when we get settled in the house.  Wearing an apron while baking or cleaning makes me feel all domestic and by some miracle, it makes chores a little more tolerable.

I recently found a great site for buying new, fun aprons:  FlirtyAprons.com.  Their styles are so cute and their prices seem reasonable.  Here are some of my favorites:


This one reminds me of our wedding colors!


Very chic!  I would love to cook some French pastries in this one.


How fun would this one be for springtime? (oooh...it's on sale, too!)


And this cherry one is so retro and cute!


I might have to add one of these to my Christmas list this year.

LinkWithin

Related Posts with Thumbnails