

Yes! We moved in! FINALLY! There is still so much more to do (and still more stuff to pack and move), but the place is livable and we are slowly settling in.
I want to finish a few things before I take pictures of our kitchen, bedroom, living room, dining area, bathroom and other areas to share with the internets. In the mean time, I figured I could give you a run down of the rest of our floor refinishing project.
After we sanded all the floors, we removed all the dust from the rooms. We wiped down the walls, the trim and any nook and cranny where dust might settle. For the floors, we first swept them with a broom, then followed with a shop vac.
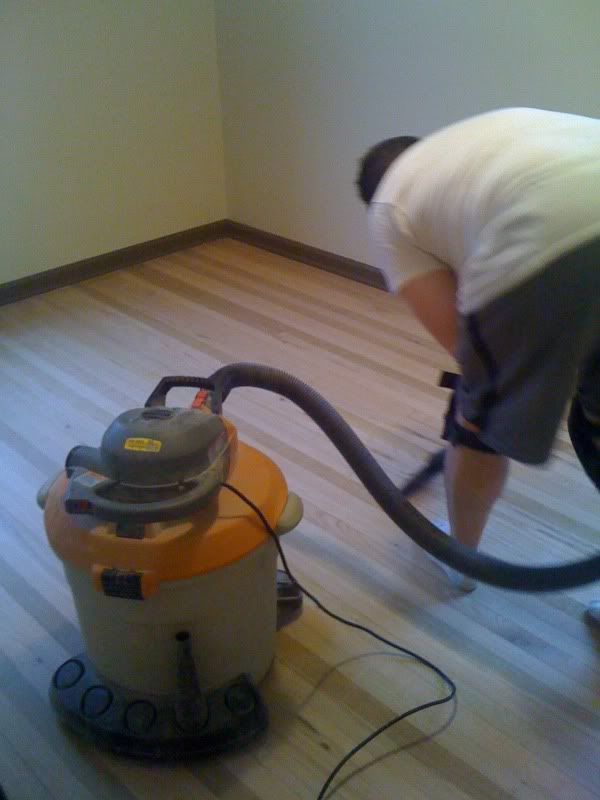
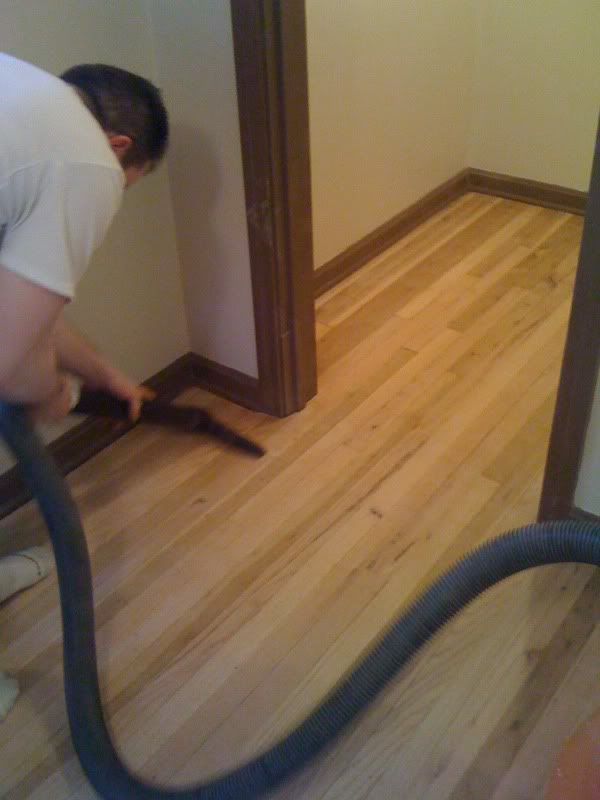
Just to be sure we got everything, we went over the entire floor with a tack cloth. Any dust left behind could end up settling in the poly coat, making the floor feel rough. We wanted to avoid that as much as possible.

We tried a few different brands and really liked the ones made by 3M. We found them at Ace Hardware.
The next step was to cover the floors with a few coats of polyurethane to protect them and give them that purdy, glossy shine. We decided not to stain them because we wanted the look of the natural wood to show as much as possible.
For our floors, we used a water-based poly. We picked water-based over oil-based because we wanted something that was fast-drying and low on odor. Oil-based polys are more durable, but really stink up the place, take longer to fully cure and aren't as easy to clean up.
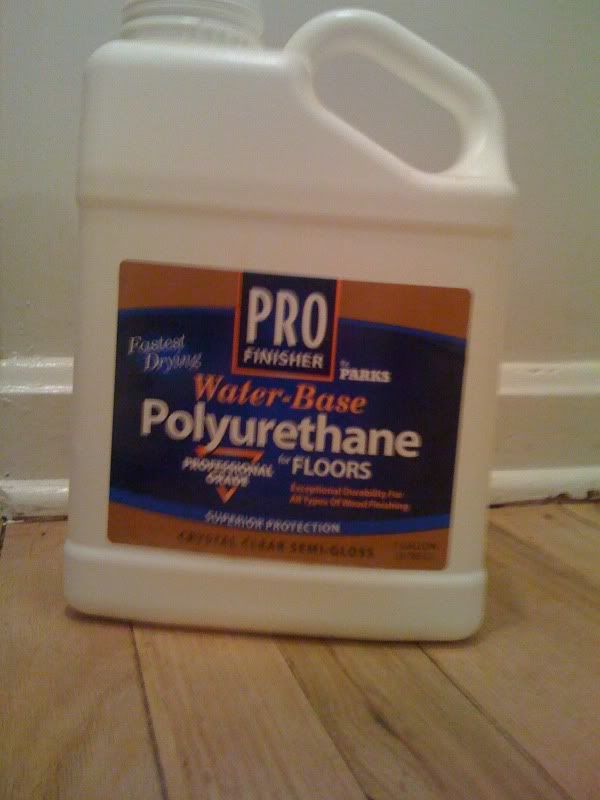
We bought this at Home Depot for about $38 a bottle. I think we used four of five bottles to do all of the wood floors in the house. That's six rooms and the stairs.
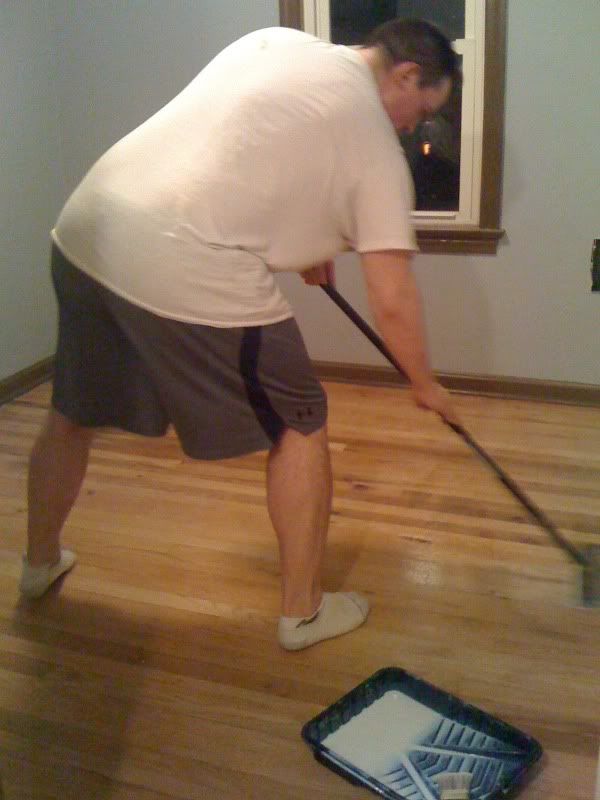
The first coat went on quickly. We did it mop-style by using a Water Wiz attached to a pole. We bought those at Home Depot, too.

We applied the poly with the grain and were careful to work our way out of each room by starting in the corner farthest from the door.
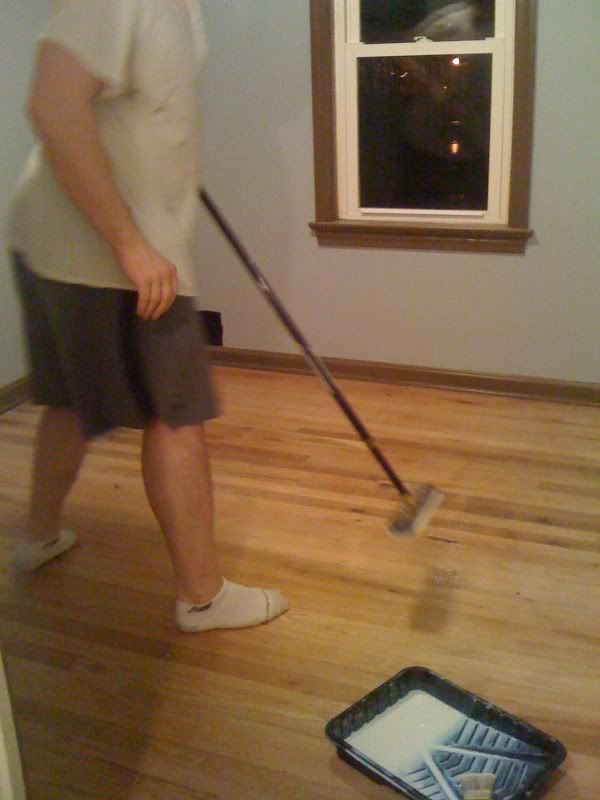
The polyurethane looked like watered down Elmer's glue, was a little cloudy during the application and dried clear. We put it in a paint pan to make it easier to load our applicator.
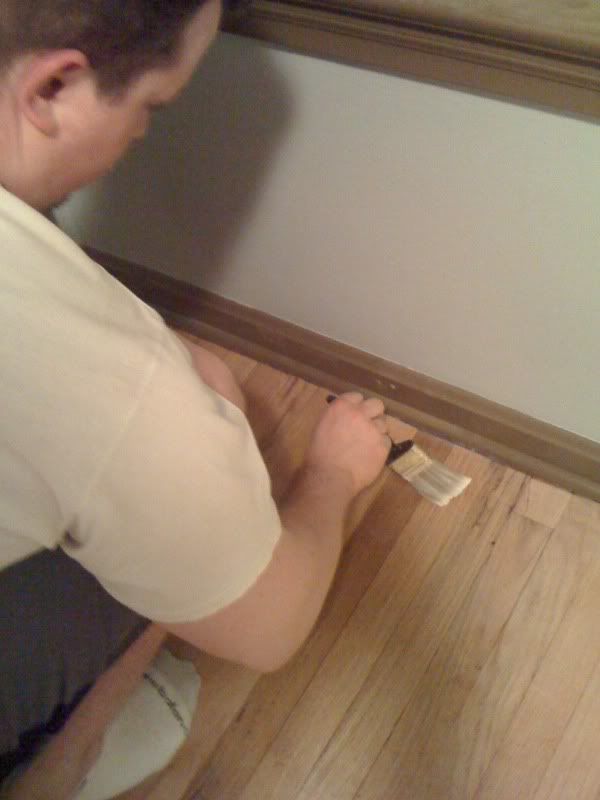
To cover the areas where the applicator wouldn't reach, or to smooth out any drips or poly build up, we used a small paint brush.
After the first coat completely dried (we let it go overnight), we had to sand the floors again. The reason was that the bare wood expands and the grain rises when it absorbs the polyurethane. The floor was very rough after the first coat and sanding is standard practice.
We used 220 grit sandpaper and did the work through a combination of hand sanding and using a small palm sander. We sanded lightly along the grain until the result was a smooth finish.
Then, it was a repeat of the dust removal process. There wasn't much dust to clean up, but we still swept, ran the shop vac and used a tack cloth. Dust is bad!
As you could assume, we used the same techniques as the first coat when we added two more coats of polyurethane. With the water-based poly, we didn't have to sand between coats as long as we did them within six hours of each other. The floors dried enough to walk on in about an hour, so we jumped right into both coats in one evening.
The floors had to cure for a few days before we could move in furniture. We probably let them sit for about a week just to give them plenty of time to cure.
The results are fabulous! I am so tickled pink with how nice our floors turned out! I love them!
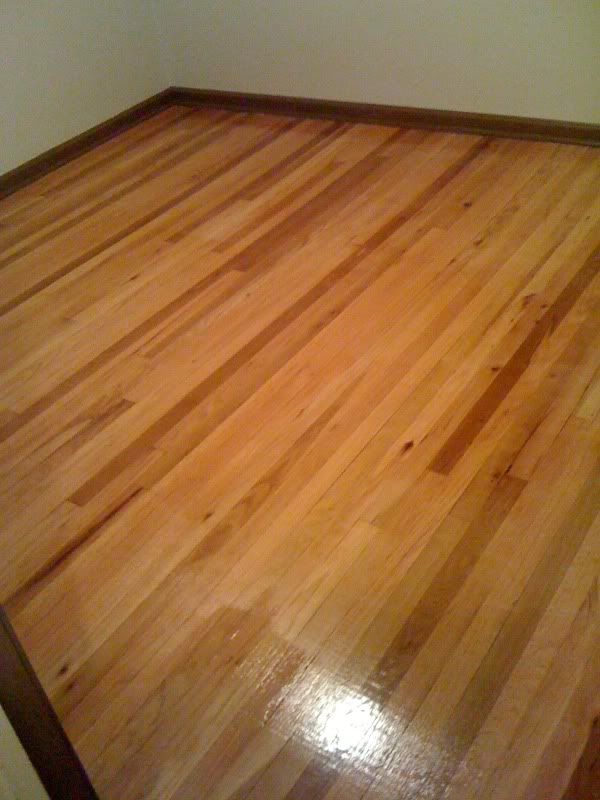
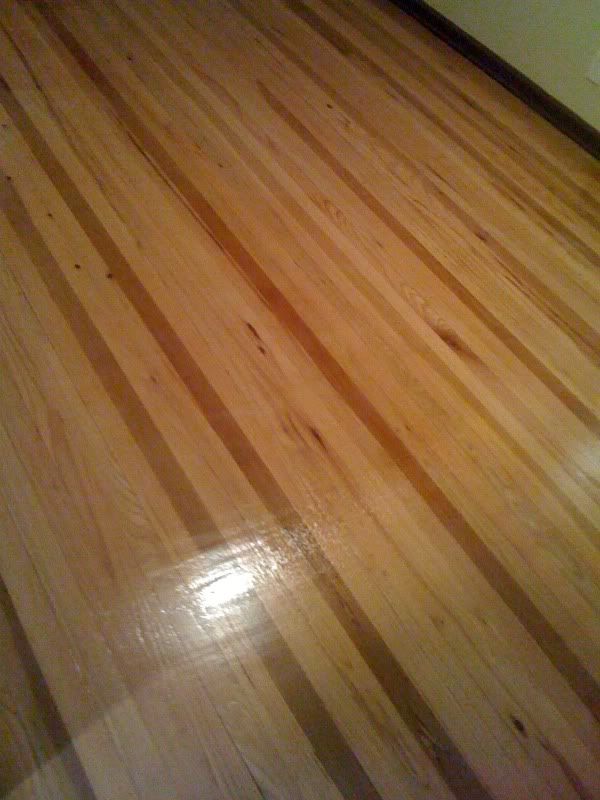
Oooooh...shiny!
It's a big change from what they were before.
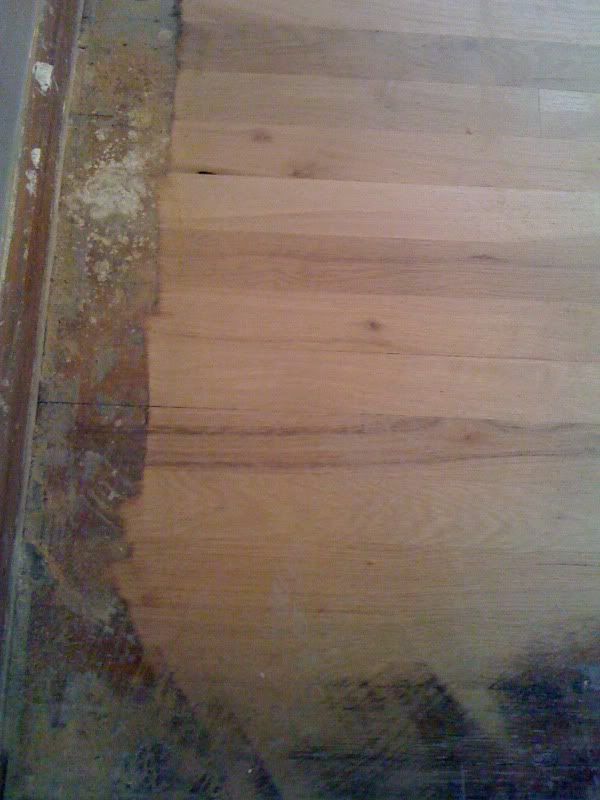
The dining room floor after one pass of the drum sander. The edges hadn't been sanded at this point, but you can see how bad the floors were when we pulled up the carpet.
I'm really proud of the work we did on the floors, but don't get me wrong---it kicked our butts! Especially the sanding part. That is some hard labor. But, it's so nice to have beautiful hardwood floors throughout our house! I love the warm, welcoming feeling they provide and the small monetary investment of DIY floor refinishing (which for us, it was about $500 in sandpaper, rentals, supplies and materials) was more than worth it. Carpeting or professional refinishing services would never have been as affordable.
Did I mention how much I love the floors?!?!?
Great post!!!
ReplyDeleteVery interesting and amusing subject. I read with great pleasure.....
I love the color of your floors!
ReplyDeleteYour floors look SO fantastic!
ReplyDeleteLovely! I'm glad, you kept your floor that way. I can see that water-based poly allows your floor to shine better. I love it! My husband used oil-based poly before, and it really made a strong odor.
ReplyDeleteThis comment has been removed by the author.
ReplyDelete