
Sanding is a tough job. We did the downstairs in a weekend and it completely kicked out butts. It's not that it is a difficult job to do, it's just very labor intensive. We were fortunate enough to have use of my dad's floor sander, purchased at an auction for $5.
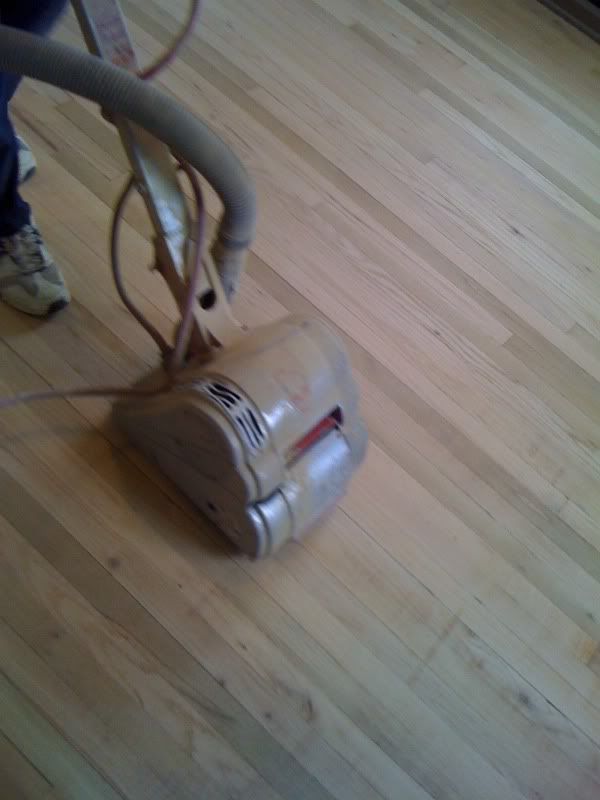
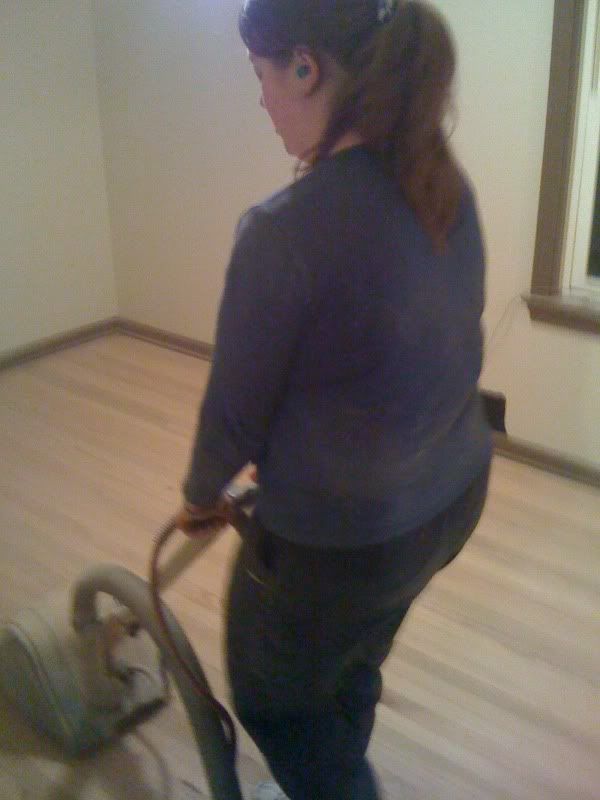
Here is the beast in action! This is an older model drum sander, but it works fine. We were able to find the right sandpaper (7" wide) at a local rental store. For our floors, we used the following grits in this order: 20, 36, 80 & 100. They ranged in price from about $1.50 a sheet (100 grit) to about $4 a sheet (20 grit). A 20-grit sheet would pull up the existing finish on about half of a room. We used two or three 36s in each room and only needed one each of the 80s and 100s for a room. The room sizes had a lot to do with how much we used and we had a few new sheets tear or break when we hit a nail or staple we missed during the carpet removal or when we didn't have the paper attached tight enough on the machine. This was frustrating, but I had to keep telling myself that we were saving money by doing this ourselves. Ruining some paper wasn't that big a deal.
OK. On to the actual sanding part! (put your earplugs in!) We loaded the drum sander with 20-grit paper and, since our old machine was missing the dust collector bag, we attached a shop vac hose to the dust blower with duct tape.
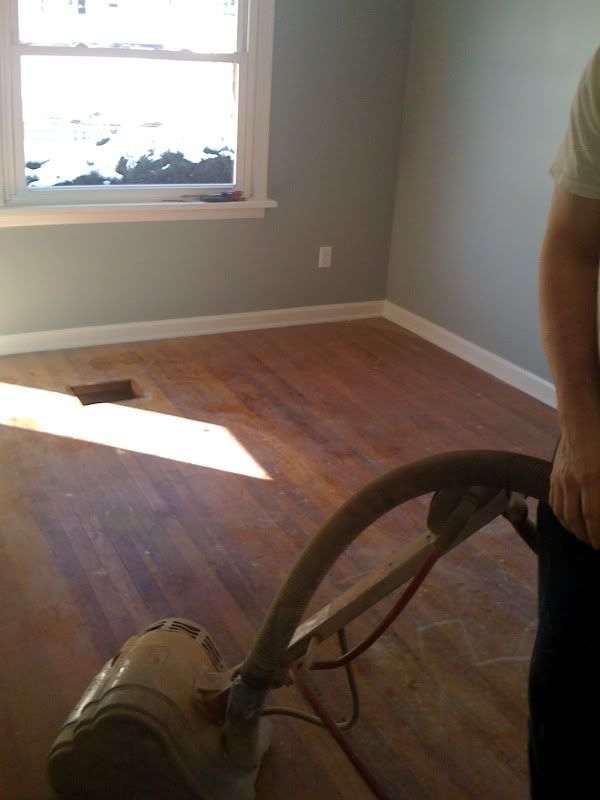
For most of the floors, Chris worked the sander. He started on one side of the floor and walked the sander up and down one strip at a time, following the direction of the grain of the wood. At the start, he would gently pivot the sander down onto the floor and move forward at a decent pace. Not too slow, but not too fast. The trick is to keep it moving or else you will gouge the wood where you stop, even if it's for a second. For this reason, we would pivot the sander up at the end of a strip before gently putting it back down and pulling it backwards.
Once one row was sanded, he would go right along side it, slightly overlapping.
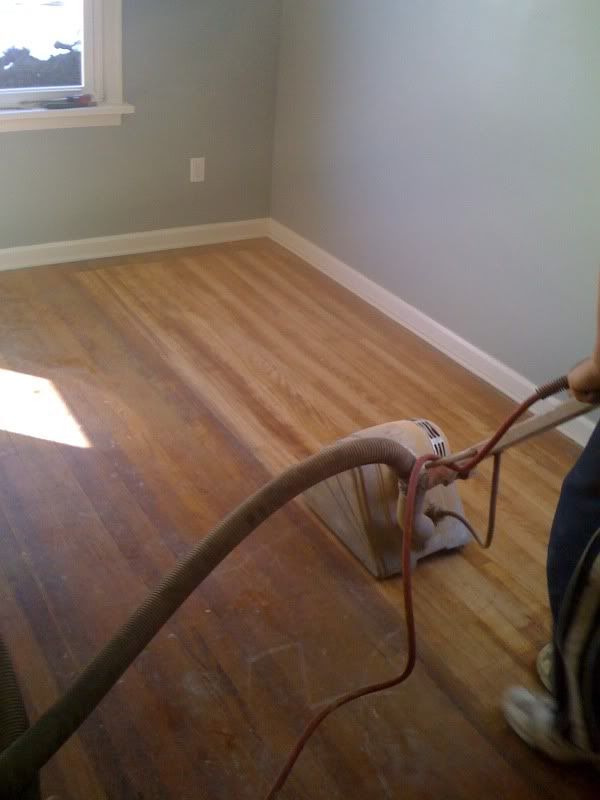
After finishing that section of the floor, we turned the machine around to get the other half.
The first pass with the 20 grit was able to remove most of the old finish, but in some trouble areas, we went over them again.
We then used a rented edge sander (loaded with 20-grit paper, too) to get the 3"-4" around the perimeter of the room where the drum sander couldn't reach.
The edge sander is very aggressive. Because it is orbital, the machine pulled to the right. This one had to be moved very quickly to avoid creating swirl marks in the wood and to keep it from taking off too much of the wood at once.
With the corner round removed, we were able to get all of the exposed wood sanded with the use of the edger. In this photo, Chris is moving it side to side with the grain.
The edger was also useful for closets, walkways and other areas where the drum sander couldn't fit.
Once we finished with edging and sanding the entire floor, we swept up the floor, loaded the sanders with 36-grit paper and repeated the whole process. Then, did the same with 80-grit and 100-grit paper.
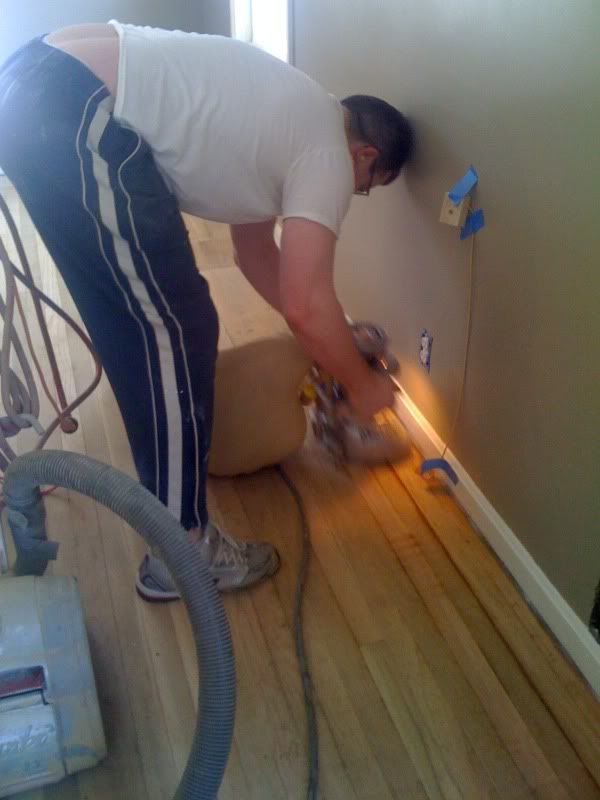
Since the edger couldn't get into the corners, we used a Black & Decker hand sander with a pointed tip to remove the finish and sand them down.
And, I know what you're thinking: Why is Chris doing all the work? What are you doing, besides taking pictures?
I was holding the hose! We found it was much easier if someone held onto the power cord and shop vac hose because they kept getting in the way.

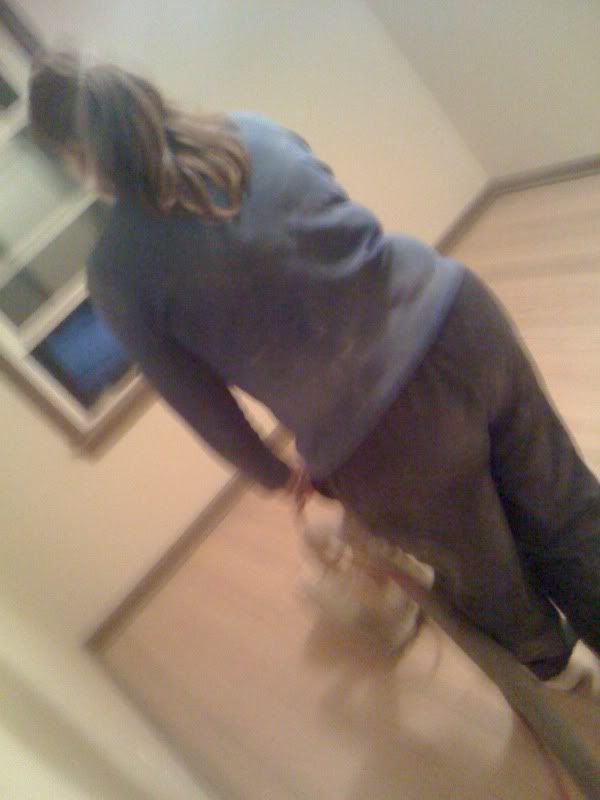
And I did a lot of the edge sanding. I just don't have pictures of that. Chris did let me do the final few passes on the upstairs floors with the drum sander and I have proof:
So, there you have it. My recap/quasi-tutorial on sanding floors. We just started putting the poly coat on, so that will be part 2.
Thanks for these very important tips . This should be helpful to many homes....
ReplyDeleteThanks for these very important tips . This should be helpful to many homes....
ReplyDeleteThank you for sharing this post.
ReplyDeleteA lot of ideas, thanks for sharing all this information here for people like me.