Showing posts with label house. Show all posts

October 21, 2009

Hole-y Moly!

One of the surprises that came with buying our home was when we discovered there was no insulation in the walls of the house.  Although it has a solid brick exterior, we were worried about how the lack of insulation would impact our home heating costs over the winter.

We got some quotes on getting the insulation blown in and were then surprised by the costs.  Spending almost $3K was not part of our home renovation budget and we wondered if the energy savings would ever pay off if we only stay in the house for 5-10 years.

We were able to work out a deal with an insulation professional to get it done for a much more reasonable price if we did some of the work ourselves, so we went for it.

Because of the brick exterior, our option for getting the insulation blown in was to drill holes on the interior of the house between every stud on exterior walls.  The bit we used was a 2-inch carbide hole saw bit and Chris went to town turning out walls into swiss cheese.  Actually, it wasn't as bad as I thought it would be.  The holes were drilled towards the top of the wall for the majority of the studs.  He had to drill holes closer the the bottom of the wall where there were windows.
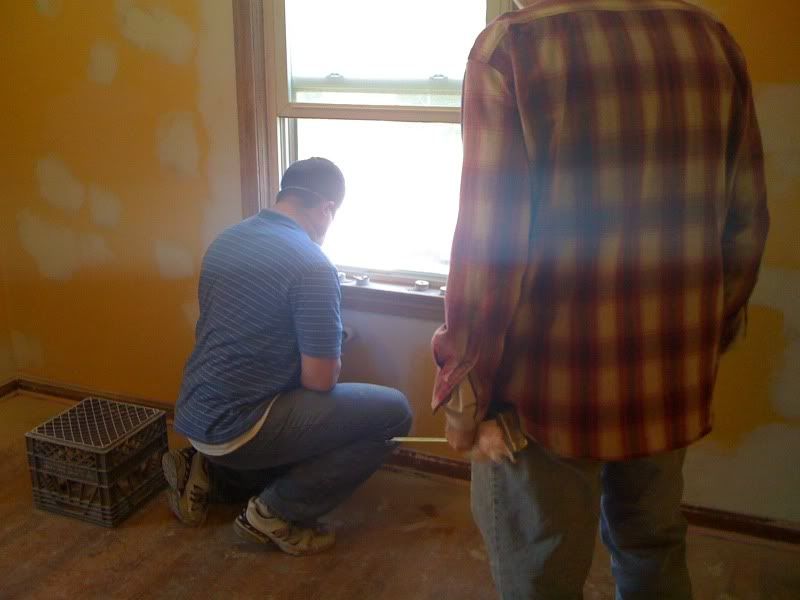


Chris working hard, drilling the holes.
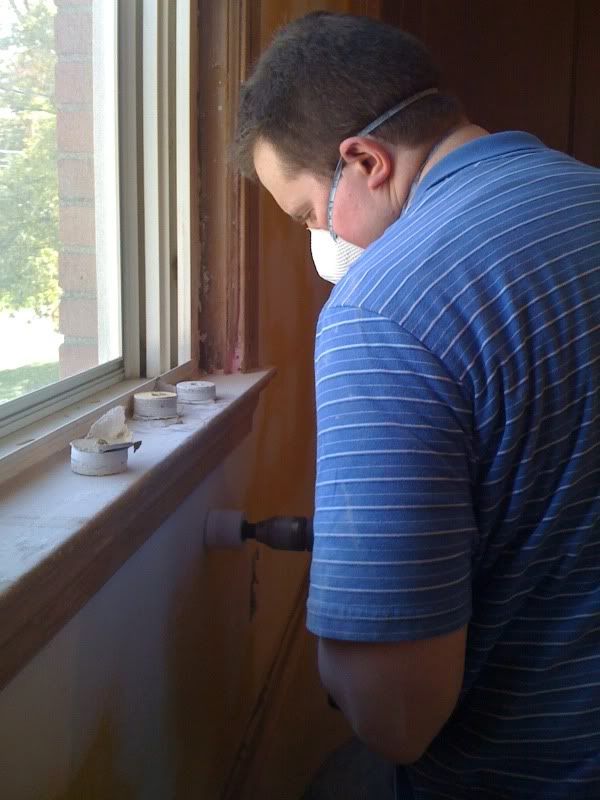


Holes at the top.
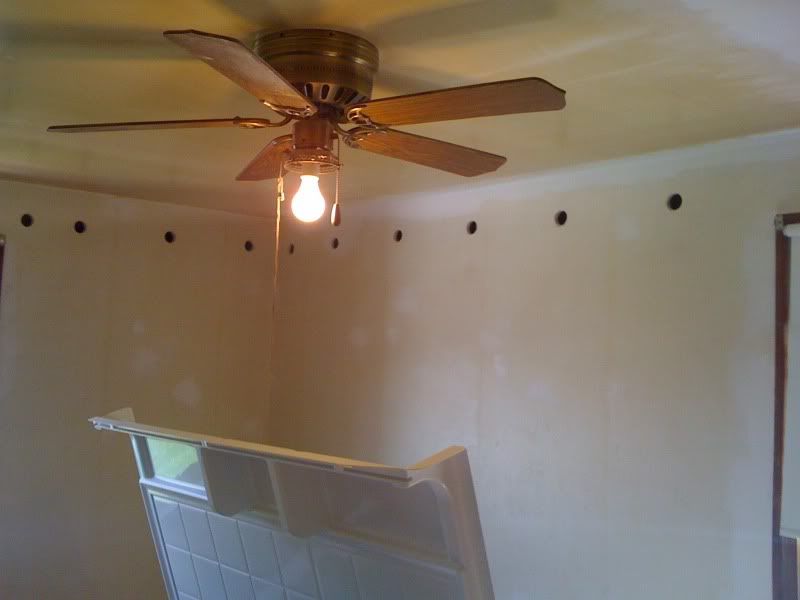

Holes in the master bedroom.
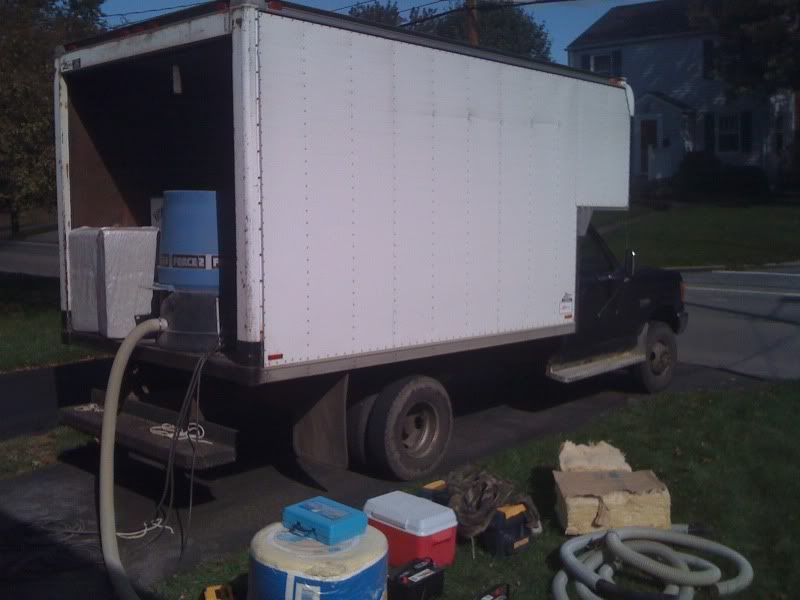


This is the big truck in our driveway.  This housed the bags of insulation and the machine that fed the hose.
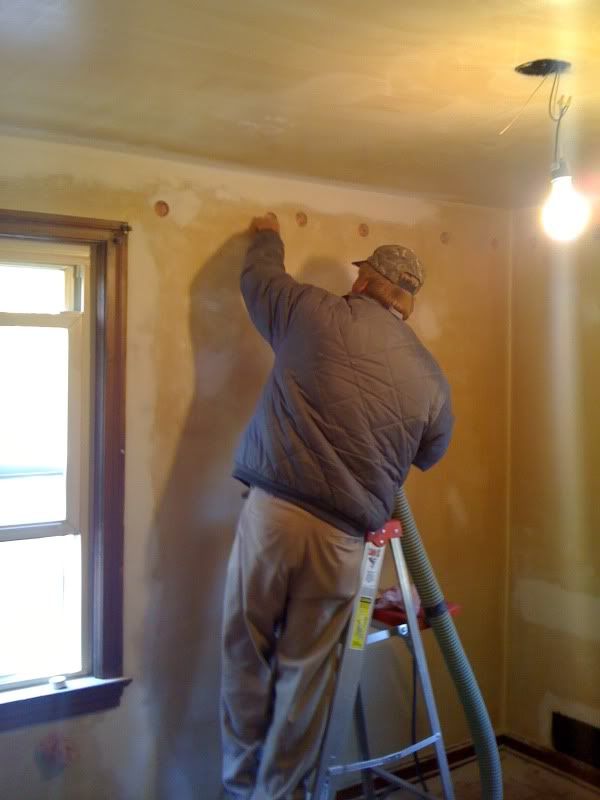


Blowing in the insulation.
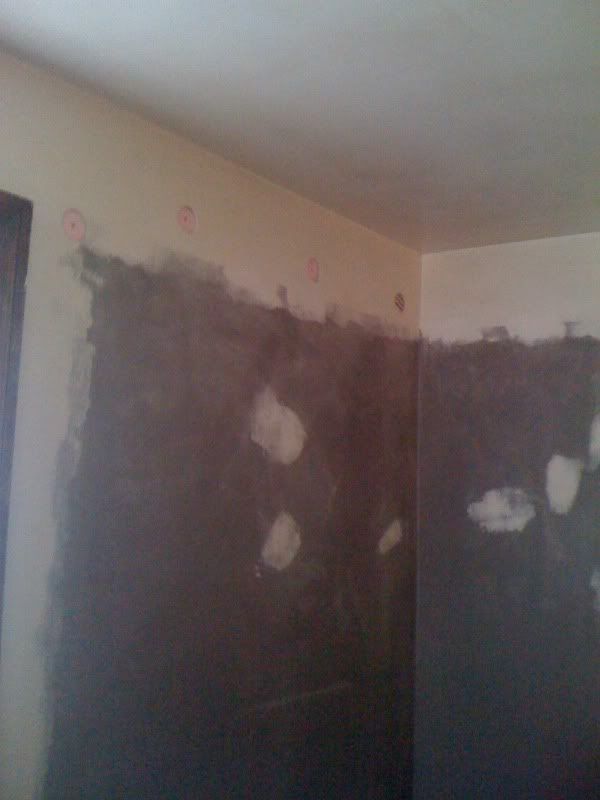


Holes after they are filled and plugged.
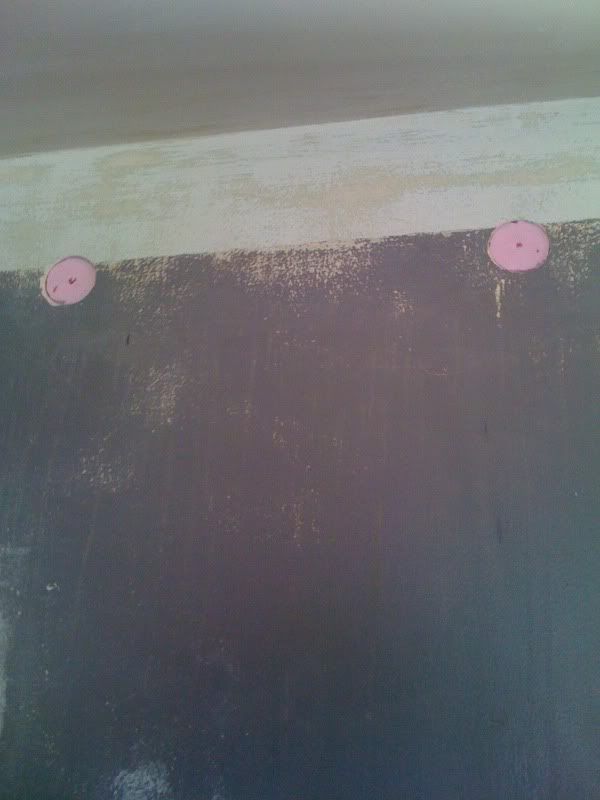


The plugs were made from a sheet of insulation board.  They used a hole saw bit slightly larger than the size of the hole to make sure they were a snug fit.  The plugs were wedged in and recessed by 1/8" or 1/4"

I didn't go around and count the holes, but I'm guessing there are about 100 - 125 throughout the house.  And I will admit to feeling terrified over the thought of drilling that many 2" holes in the walls.  I guess it's not as bad as I thought it would be, but it's going to take some work to make the holes disappear.

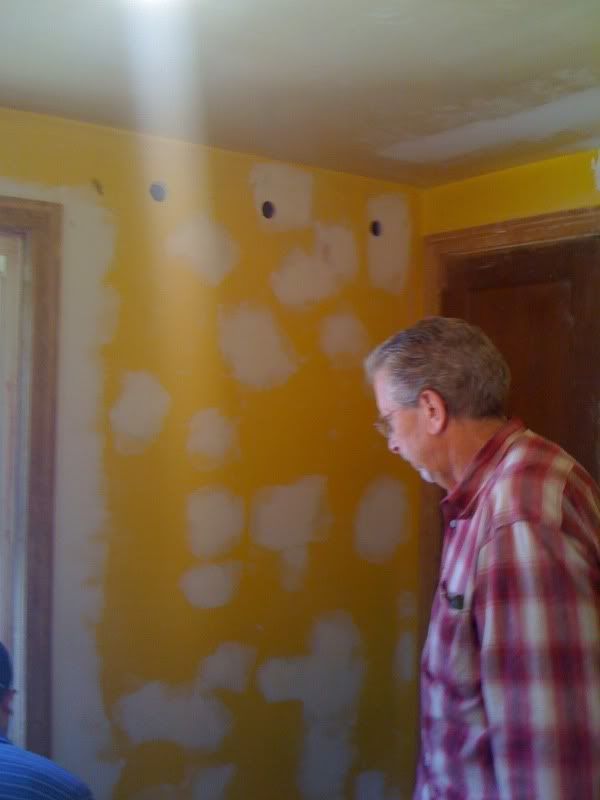
We spent about two hours last night filling them with drywall compound.  Since the holes are so big, it will probably be a couple of days before they are dry and ready for the next coat.  We are hoping two or three coats does the trick.

Insulating the house puts us one step closer to painting (and I've been dying to paint since we first looked at this place!)  This week's plan is to finish hiding the holes and getting the remainder of the walls prepped for priming.  I can't tell you how much I'm looking forward to getting rid of the yellow, orange and blue walls!

August 10, 2009

A little tour


As promised, here are some photos of the inside of our house. These were taken on my iPhone during the home inspection, so I apologize if they aren't very good.

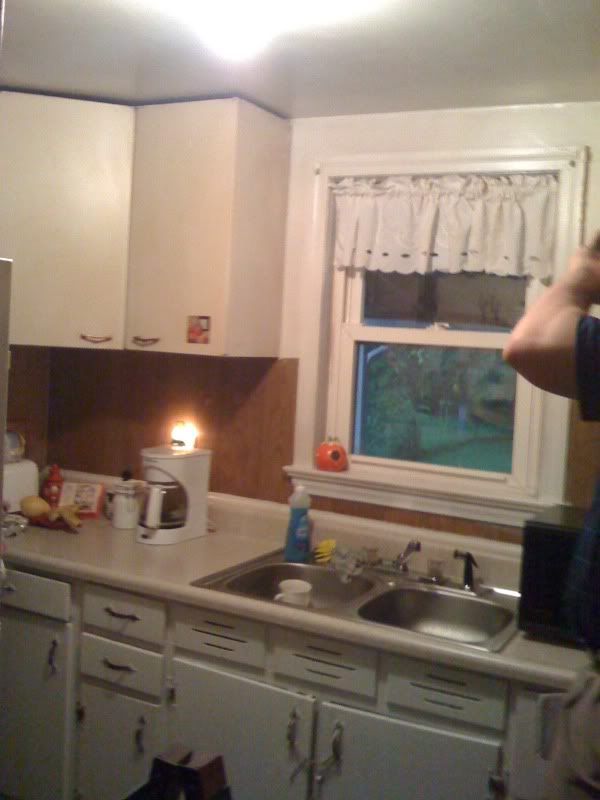
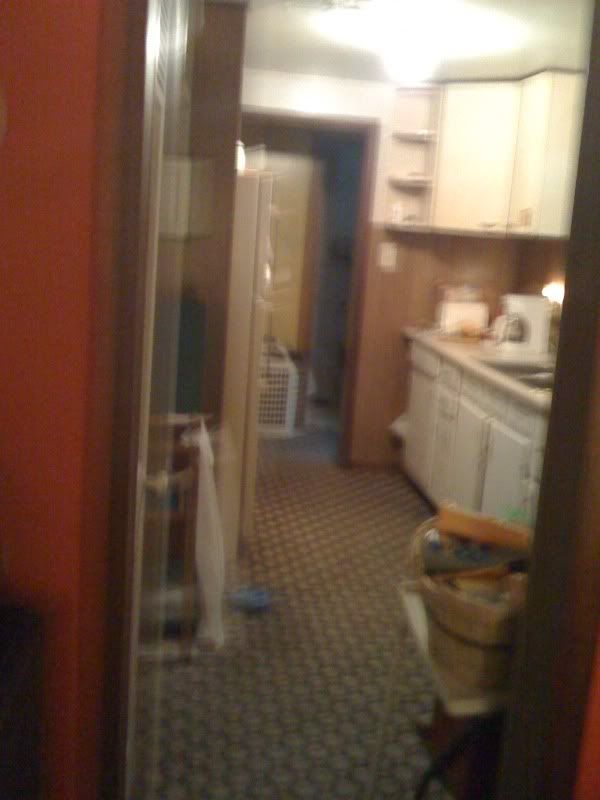
First up: The kitchen.

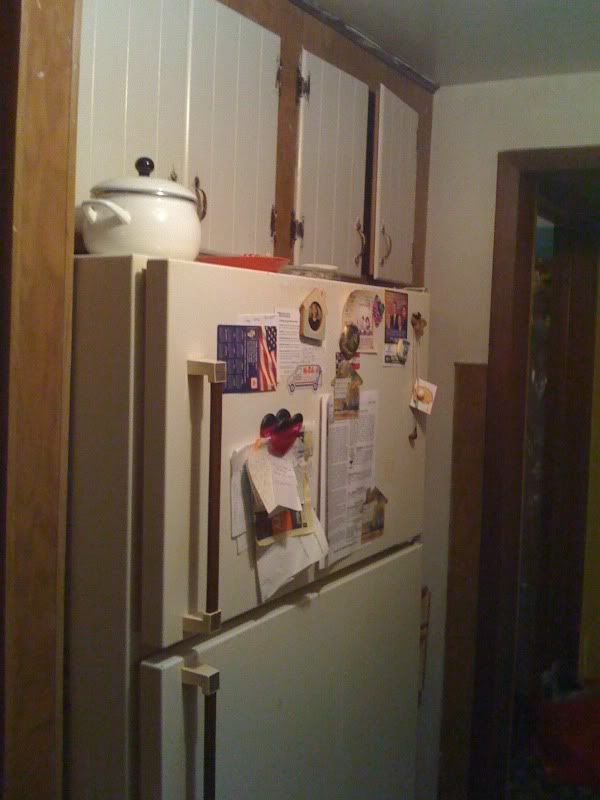
The kitchen has old, birch base cabinets and metal wall cabinets. All of them are in terrible condition. This will be one of the first things to go when we get our hands on the place. The drawers stick, the metal is rusting and there isn't much cabinet space.


Carpet in the kitchen...lovely, huh?


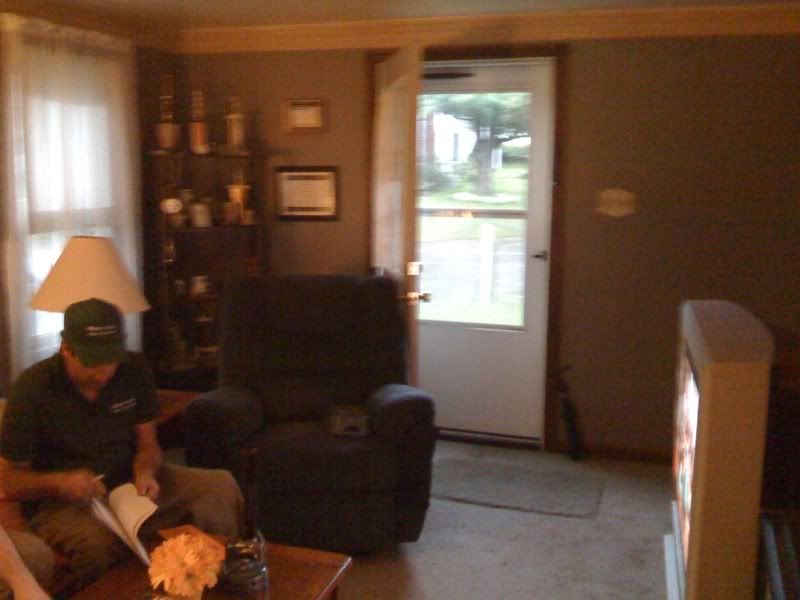
The living room:

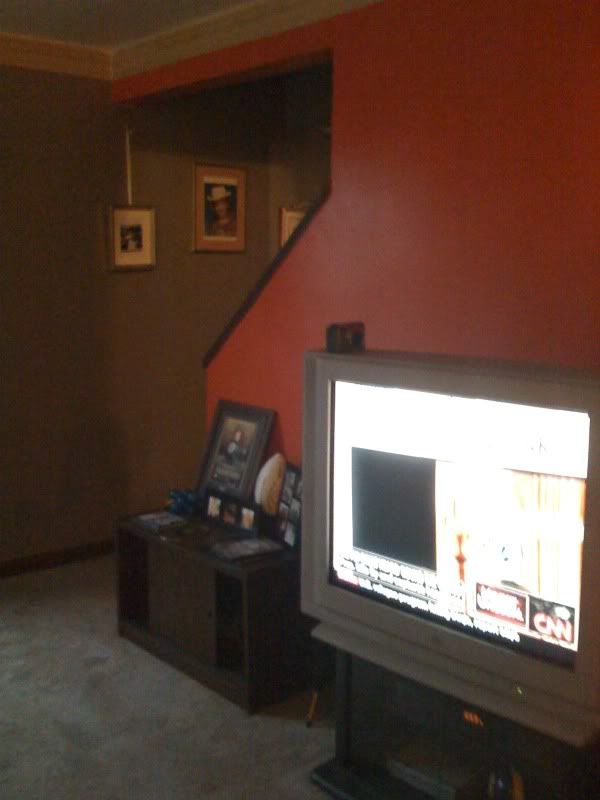
This room is right off the kitchen and is the biggest room in the house. We can't wait to rip up the carpet and see if there are hardwood floors underneath.


Yes, that is a hunter orange accent wall.


The dining room:


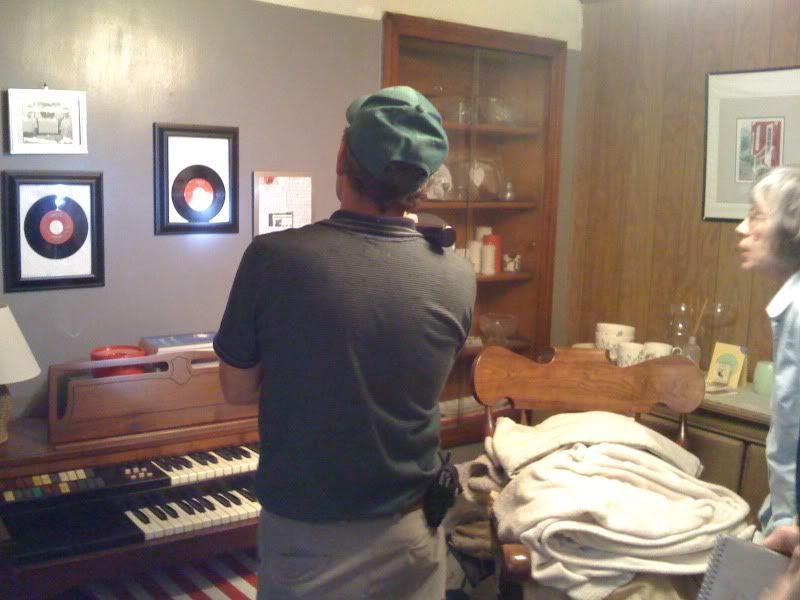
This room is small, but should be just fine for Chris and I. We really don't have lots of space for entertaining, so I'm sure it will be a rare occasion to have his and my family there all at once. We will tear up the carpet from this room, too. The paneling on two of the walls will also go. The built-in cabinet was put in to fill a window opening when the addition was added. I kind of like it.


The downstairs bedroom:


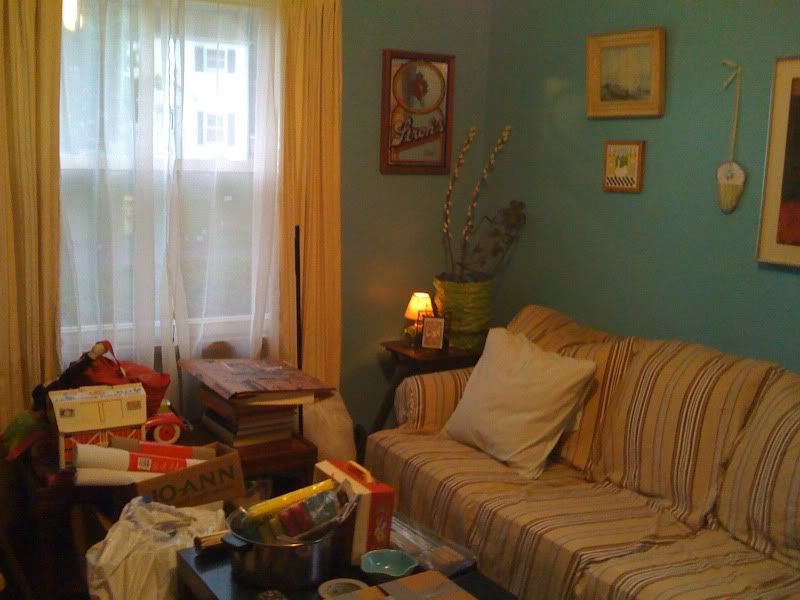
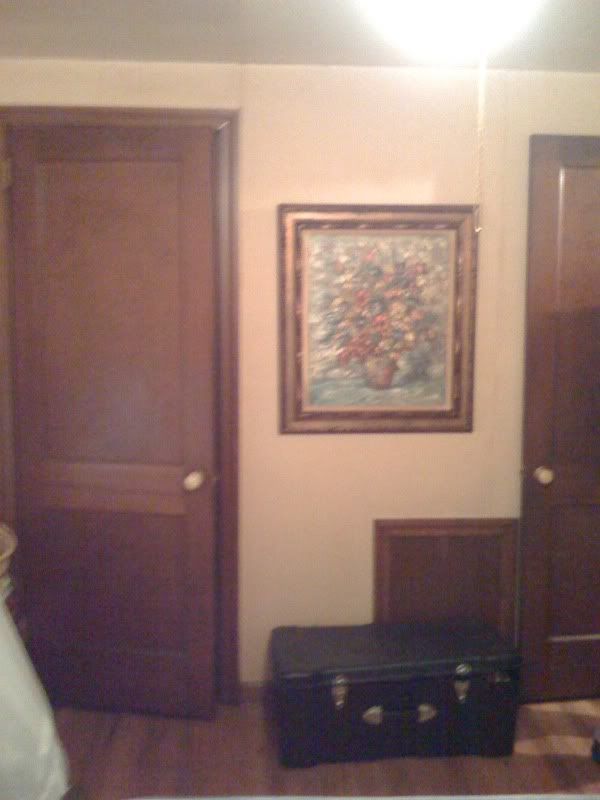
I'm not sure if we will ever use this for a bedroom. Most likely, it will serve as an office/TV room. We're not sure what color we will paint it, but I can promise you it won't be this shade of blue! The seller had a love for bright colors. (more examples to come later!)


The upstairs has three bedrooms and one bath.

The master bedroom:


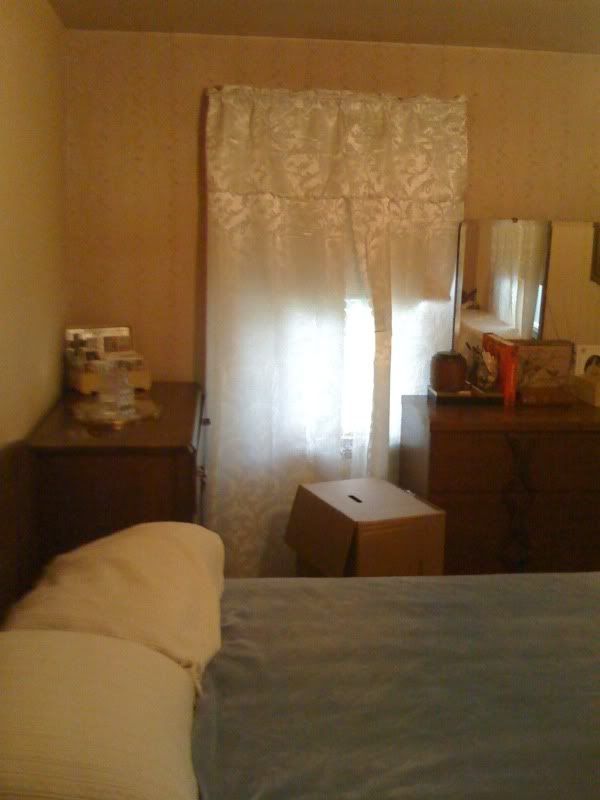
The walls are covered in a yellowish wallpaper, which I'm hoping will be easy to tear down. The hardwood in here is in decent shape, too. There isn't a whole lot of work needed in this room. Patching holes and cracks, painting and having additional electrical outlets are in the plans.


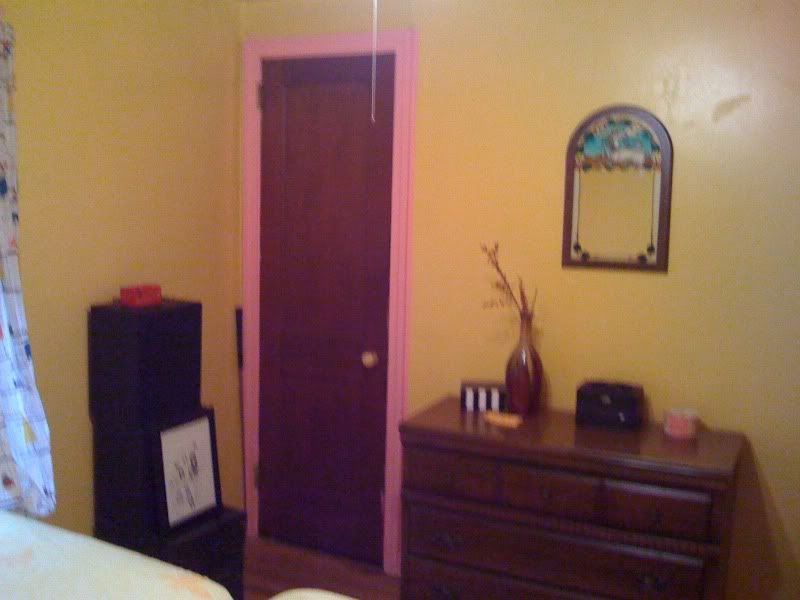
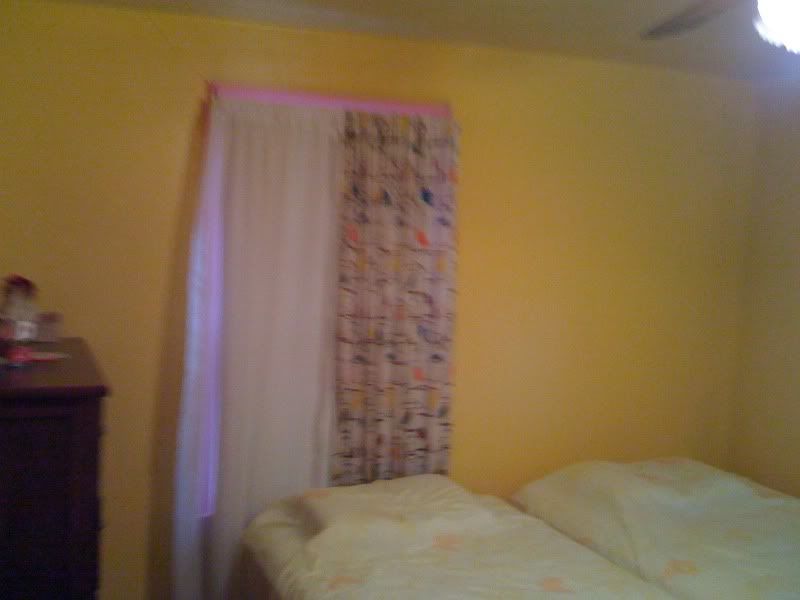
Bedroom #2:

Yikes! This one is scary!


The yellow paint is so bright and the pink-painted trim is a disaster! This was also a very messy paint job. They must not have ever heard of painter's tape since they painted the trim color on the walls and on the vinyl windows. What a mess! We'll have to scrap most of the trim off before we can start painting since it's flaking off. This room is so bright, I think the light is on every time I walk by it.


Bedroom #3:


This is such a small little room. (probably 8'x9'?) It's very hard to get a picture of the whole thing because there isn't much room to move around in there. I'm pretty sure this will serve as extra closet space for us. It might be a good size for a nursery, but there aren't any babies in the works for the two of us right now. The hardwood floor has some damage from the previous owner's pets. This room will also need some electrical work to replace a bad switch and outlet.


Bathrooms:

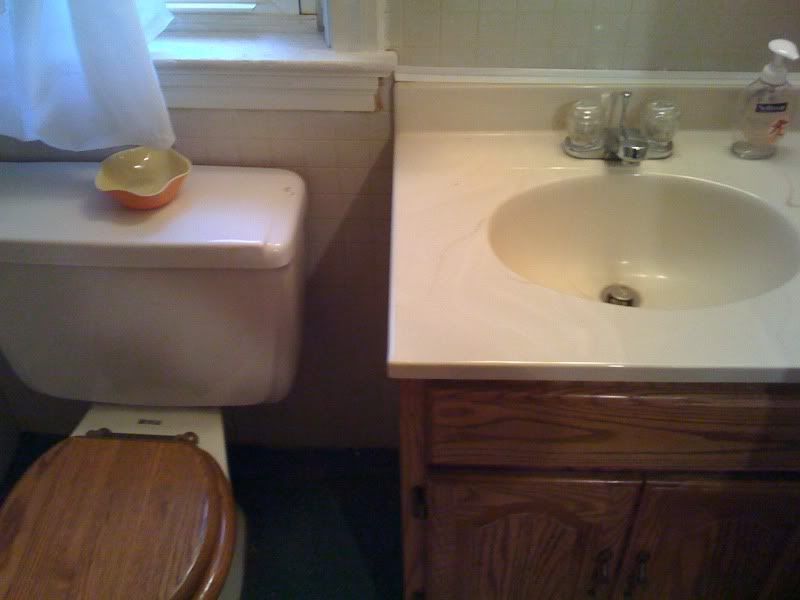
There are two in this house and both of them could use some updates. The upstairs bathroom is ripe for gutting. We'll need to replace the plumbing , so the fixtures will have to be removed.


In the downstairs bath, (part of the addition) we will probably just need to re-do the floor and replace the storage unit above the toilet.


So, that's the tour!

Lot's of work, huh? But we see a lot of potential here and through a lot of DIY, we hope to keep the renovations at a reasonable cost.

I can't wait to get started so I can start showing some "after" pictures! We are really looking forward to making this place ours! :-)

August 8, 2009

The good news and the bad news

The ink was barely dry on our mortgage papers, but we couldn't wait to find out what was under the carpet in our new home.

The good news?  It's looking like the entire house has hard wood floors!

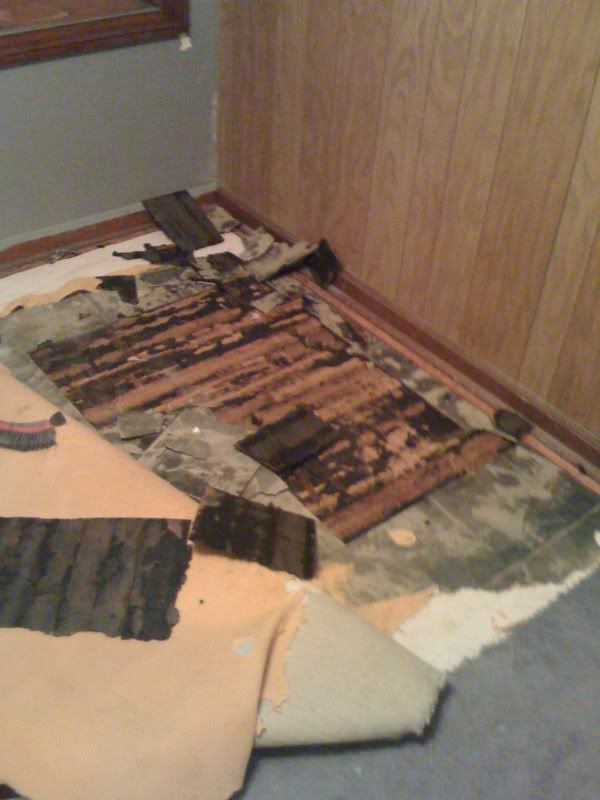
The bad news?  They aren't in the best shape.  :-(  In the dining room area, we found this:


That would be tiled floor on top of the wood and under the carpet.  The tar used to adhere the tile is very difficult to remove. 

But, one day, this will look good.  I promise!  We are a little disappointed, though, that we will have to invest a lot of sweat equity to get it that way.

August 7, 2009

Closing Day!

We are officially homeowners! We closed today on our little house!

We made a quick stop at Lowe's for some cleaning and painting supplies and then met my parents at the house so they could check it out.

I'll be sure to share pictures soon so you can see what kind of mess we got ourselves into!

August 4, 2009

I bought a kitchen...

...on Ebay!

Yep, I did it! Knowing that we needed to replace the existing kitchen cabinets in the new house, I stalked Ebay and Craigslist until I found something suitable. And, wouldn't you know it? I found a lovely, gently-used set that was up for bid in Cleveland, OH.

The bidding on that auction came down to the wire! I took my mom's very wise advice and entered some extra pennies to the end of my bid. And, when the seconds were winding down, I ended up winning the bid by three cents! $0.03! Talk about close! I promptly made arrangements with the seller to pick them up. (and also with my dad, who had the means of transportation to deliver 11 kitchen cabinets.)

Here they are: (from the Ebay listing)


The sale included the sink, garbage disposal and countertops. We also purchased their dishwasher. It's old, but I'm hoping it will last us a year or two until the house renovation costs go down and we can get a new one.

So, why Ebay? And why used cabinets?

The expense! We took our measurments to Lowe's to see what a new kitchen would cost and the total was $4,000! And this didn't include hardware, countertops, sink or appliances. This was JUST the cabinets. Sure, they would have been custom fit for our tiny kitchen. (extra empasis on the tiny!) But, we really didn't want to spend that much money on just the kitchen.

With the Ebay purchase, we were able to get the bulk of the cabinets we need (we will probably have to buy a couple more to complete the kitchen) and not spend a fortune. The grand total for the Ebay kitchen was $555.03!

We will have to spend additional money on the counter, new faucet, flooring, some appliances and trims & molding, but overall, we will come in way lower at a price that is good for our pocketbooks and our sanity.

My ultimate goal is to paint these babies white or some other light shade to brighten them up and help them match the extras we need to buy. The Mr. is not convinced it's a good idea, so we'll see what happens once we get them all in place and see how they look.

I think painting them will help to make the tiny kitchen (remember, extra emphasis on the tiny) seem a little more open and larger.

Regardless, anything we put in that kitchen will be an improvement. Trust me! I promise to share some photos of the current mess of a kitchen soon.

LinkWithin

Related Posts with Thumbnails