I'm sorry if I teased you with a
sneak peek of our little kitchen and then slacked off with posting some more pictures. The good news is that today is your lucky day! We had an open house with a small group of family and friends on the Fourth of July and I finally got the kitchen/dining room looking presentable and somewhat decorated. So, that means there are some pictures to share with you!
First up, let's not forget where we've been:
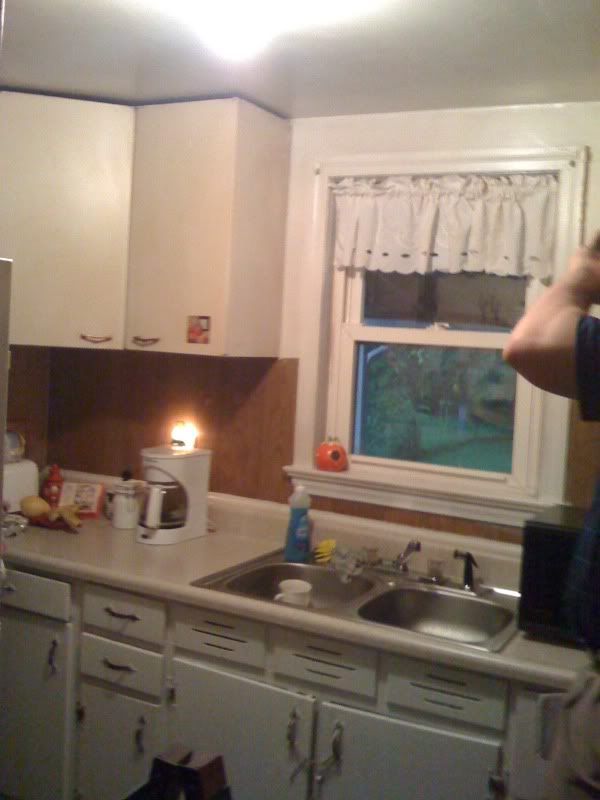
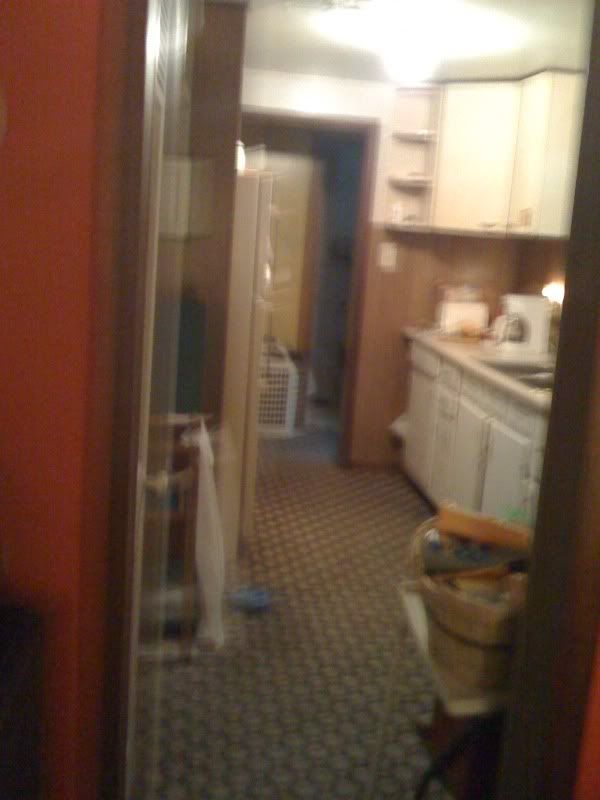
A kitchen in this bad of shape left little to be desired.
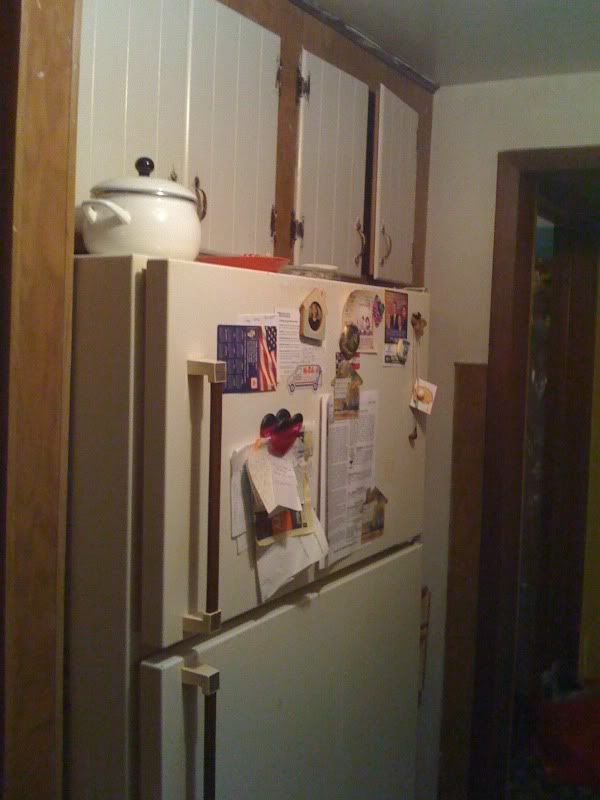
And paneling so ugly, it had to be removed. Heck, this entire wall needed to go.
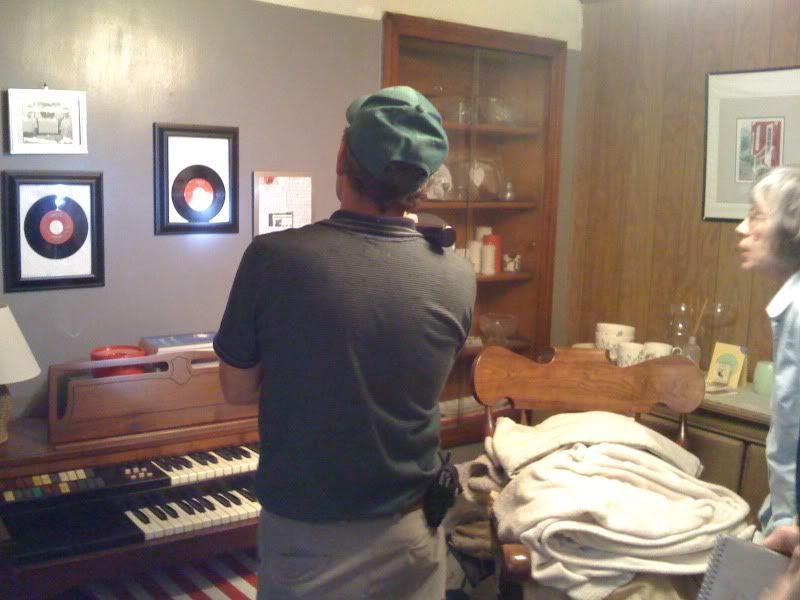
The tiny dining room seemed so dark and cramped. That paneling wall is what's on the other side of the fridge photo above.
And carpeting in the kitchen? Very bad. This whole space was very bad. The only answer was to completely gut and start over.
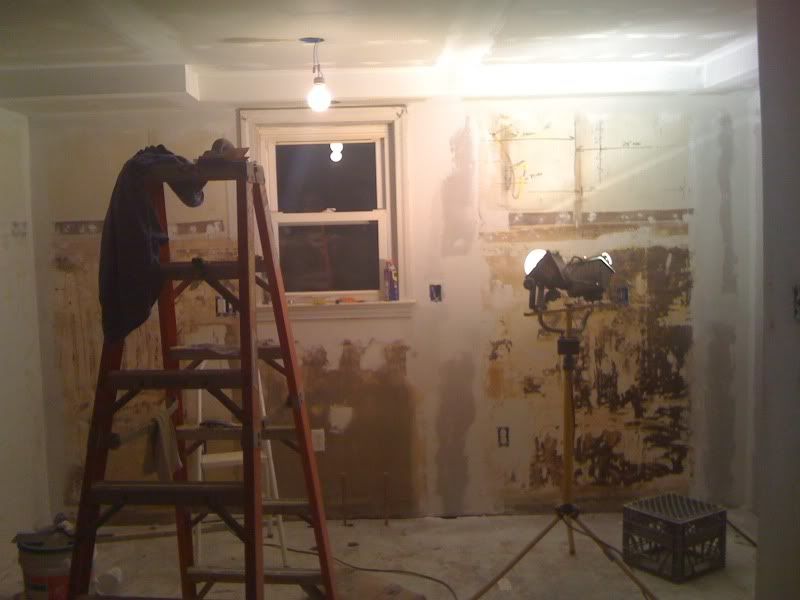
So, we got to work. On demolition day (back in August of 2009) we started the transformation.
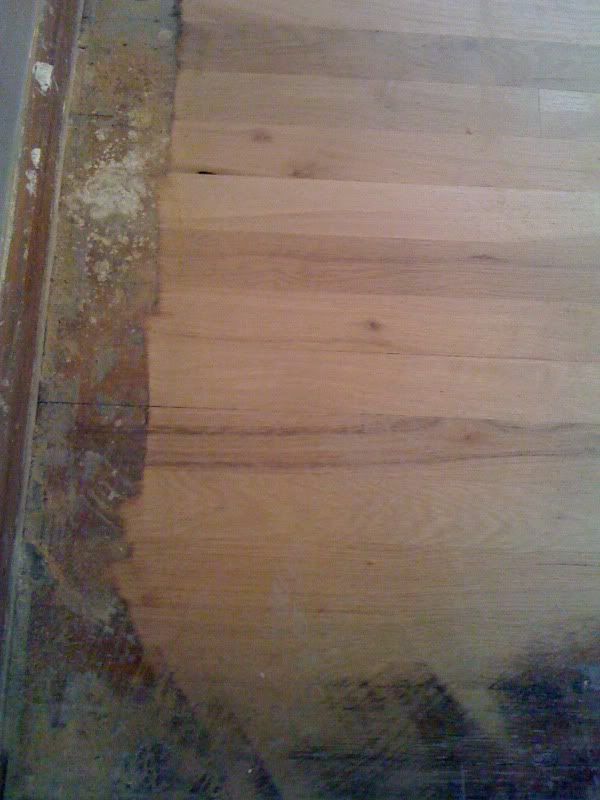
Goodbye paneling wall! That's my dad getting down to business. Notice how bad the floor was under the carpeting. We found a layer of tile under the carpet, which was applied directly on top of our hardwood with some type of tar glue.
The cabinets all came down, along with all the paneling. (Chris' mom got in on the demolition action.) Nice hole in the ceiling, huh? Turns out, the previous owner had some plumbing problems in the upstairs bathroom and whoever she contracted to fix it just hammered a hole in the ceiling to access the pipes. She patched it herself by placing cardboard from a pizza box in the hole and covering it with what we believed to be spray foam. That was a fun discovery.
And then, with the wall down and the paneling gone, we got to work chiseling the tile off the hardwood.
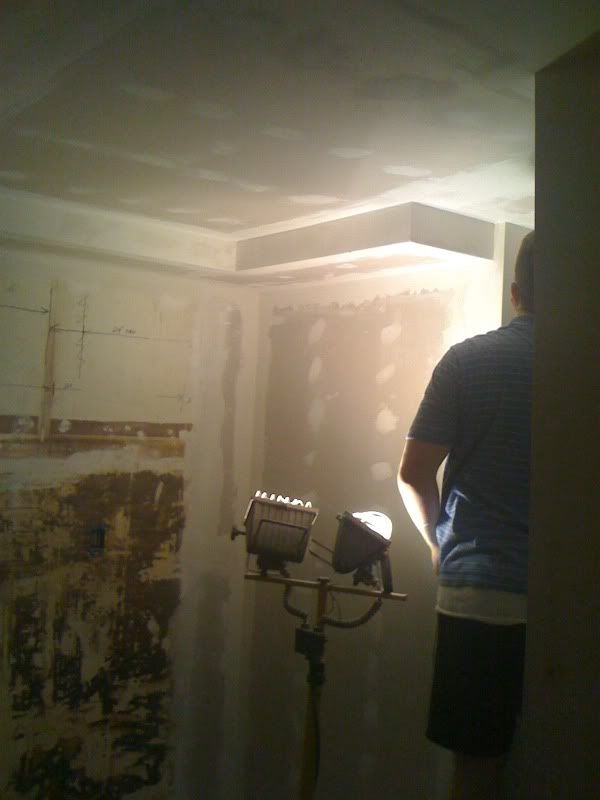
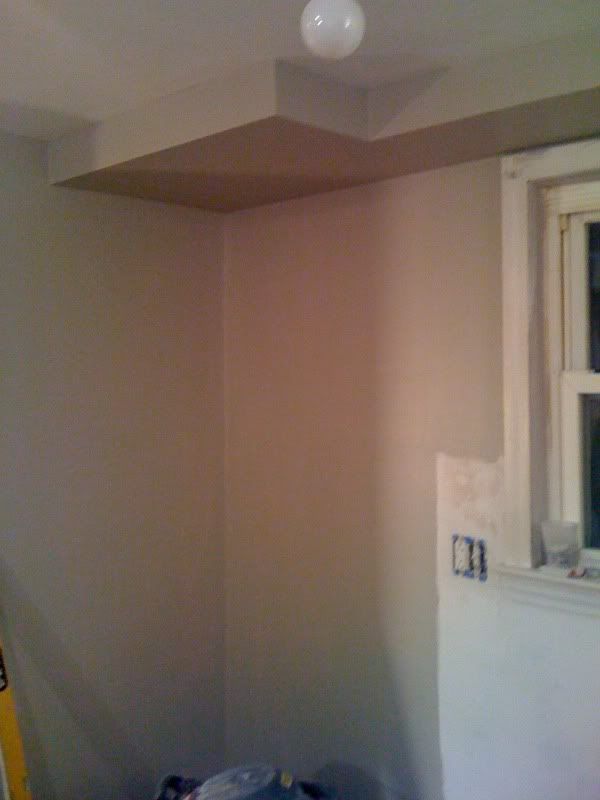
Over the next several months, our kitchen received new drywall on both the walls and the ceiling.
My father-in-law installed a bulkhead.
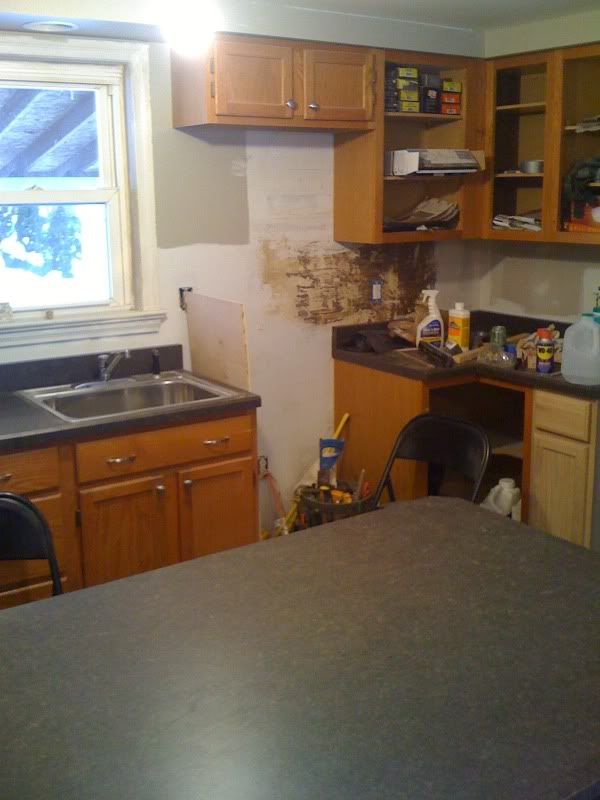
And then he started to install our cabinets and counter tops.
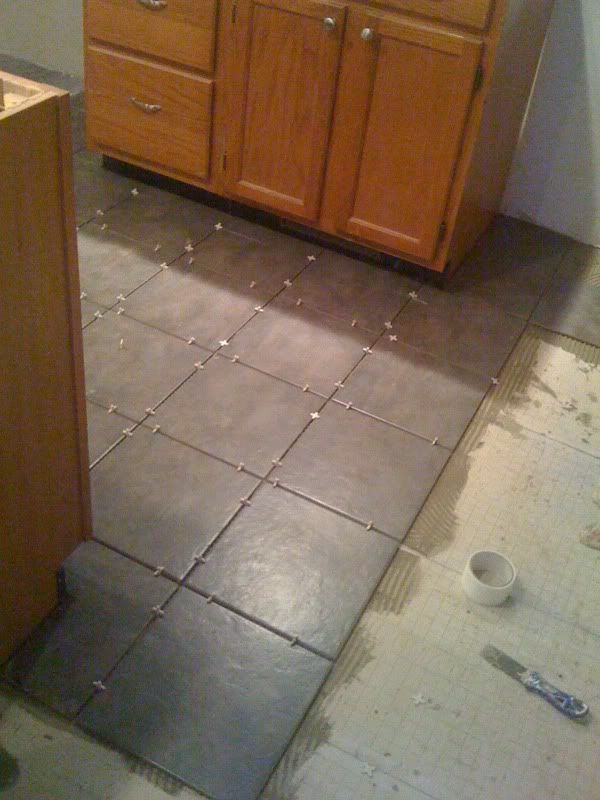
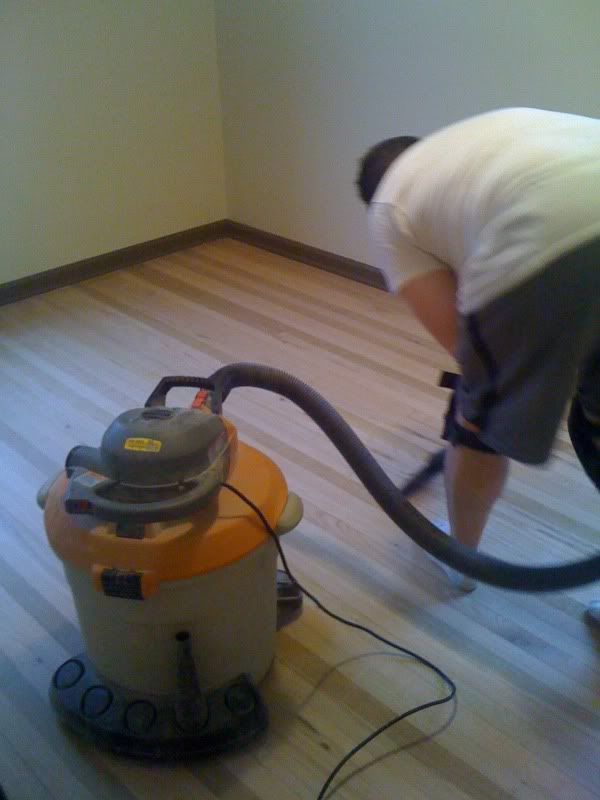
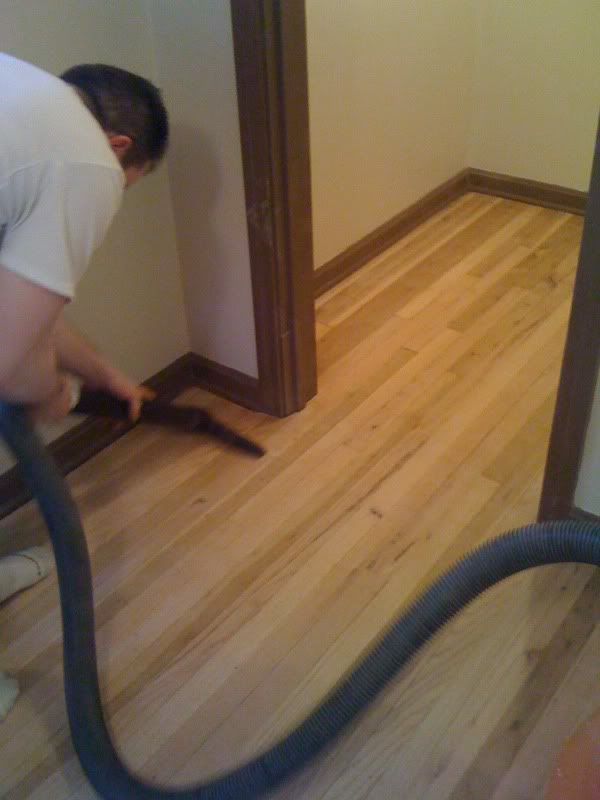
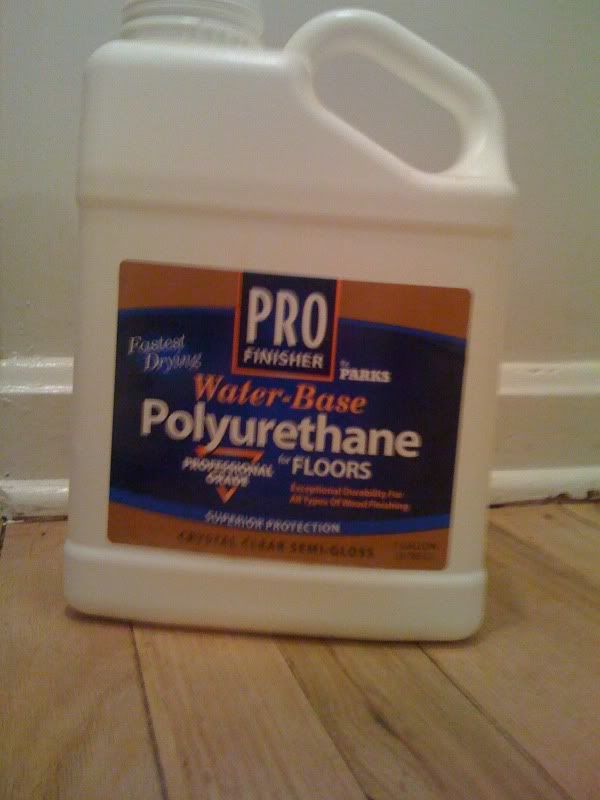
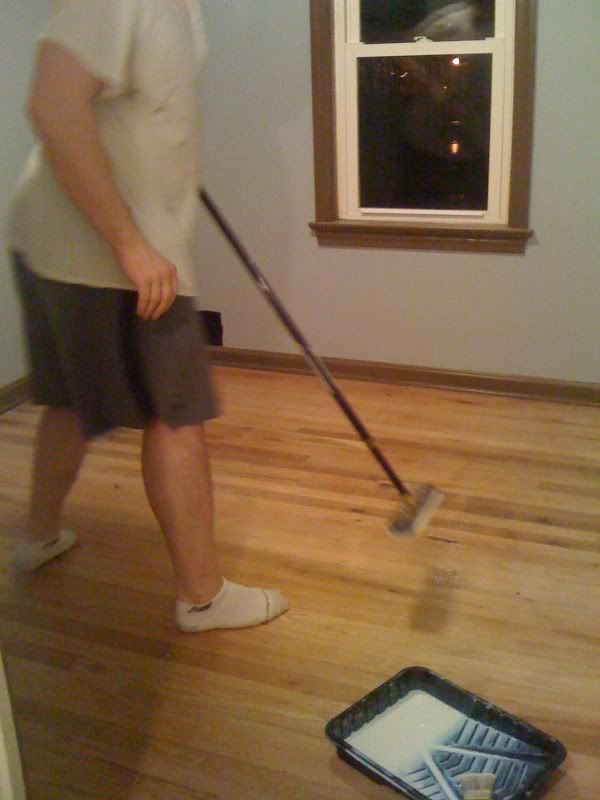
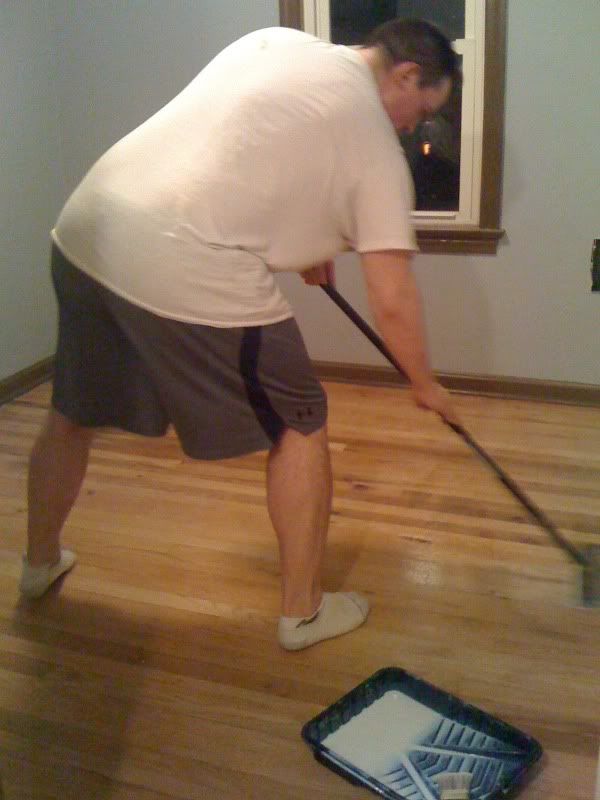
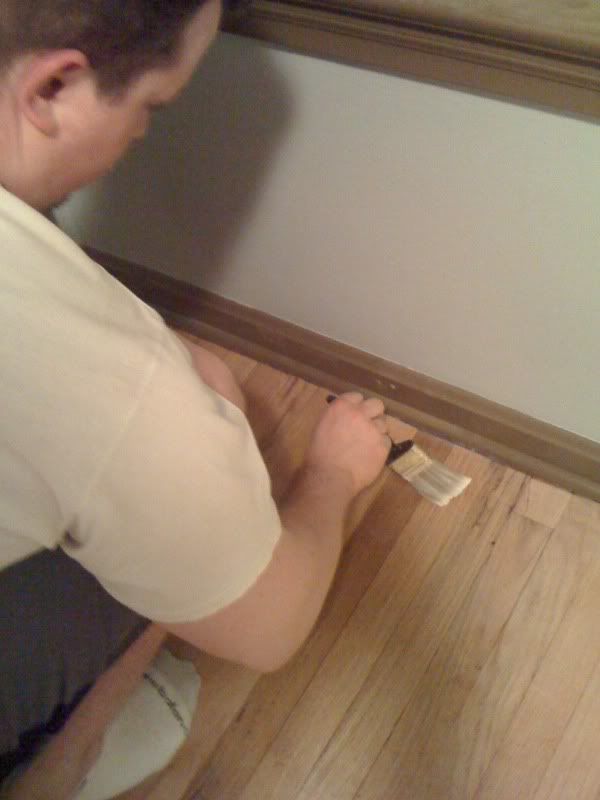
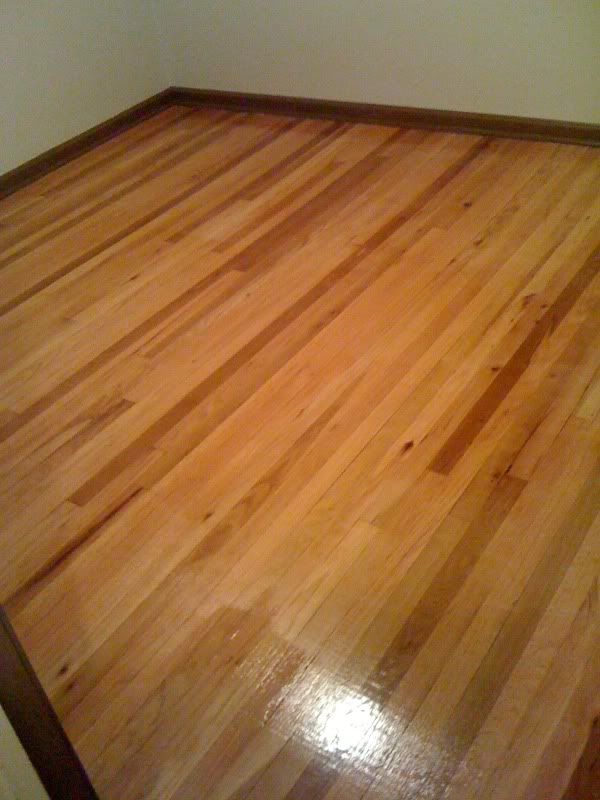
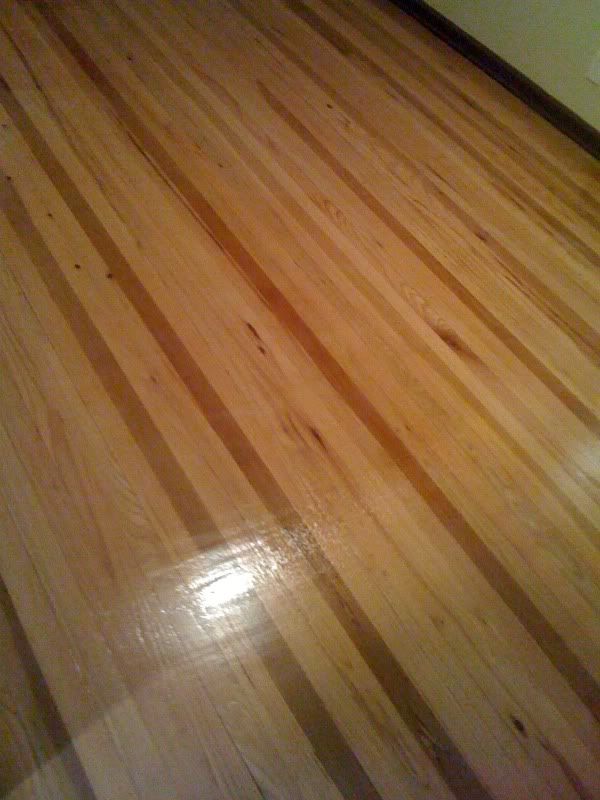
The floor in the kitchen was tiled and Chris and I sanded and refinished the hardwood in the dining area (and everywhere else in the house!)
And I got busy painting the cabinets, which were purchased on eBay. Thanks to Edie at
Life in Grace, I was inspired by how great painted cabinets can look!
Things started to fall into place after we painted the rooms, installed subway tile and had appliances delivered.
Thanks for hanging with me! Sorry to drag this on, but I thought you might appreciate the next series of pictures more if you saw what all was done to get it looking this way.
So, here goes! Our ugly little kitchen was transformed into a bright, beautiful space. We still have some more to do, but for now, I am in love!
Being that Chris & I are both tall, having a refrigerator with a bottom freezer made a lot of sense. We love it! Having our food at eye level is super convenient.
The subway tile turned out great! I was a little worried about white tile with white cabinets, but I'm so happy we went this route.
Here's a close-up of the tile job. My father-in-law did a great job.
With the wall removed between the kitchen and dining room, the space is much more open and bright. I'm a huge fan of the poppy and aqua color combination made popular by Martha Stewart. I really like how the white kitchen really makes the little red and blue accents pop.
I love my little "baking center." The shelf was purchased at Cracker Barrel, of all places. I bought it when we stopped for breakfast on our way to Cleveland to get the eBay cabinets because I loved the color. I'm still debating what to hang on the wall on either side of the shelf. I may try and pick up some red-handled antique kitchen utensils.
I hang my measuring spoons and baking utensils from the hooks on the sides. My flower sifter is on the top and the mason jars, given to me by my mother, hold our flour, oatmeal and powdered sugar. Cupcake liners and cookie cutters are stashed in the drawer. I keep sprinkles in the jars next to the sugar tin, which was a Hobby Lobby clearance steal at $1.80!
The cupcake print was purchased on sale at Joann's. It came in that frame and I only paid $7.99. I love how the colors coordinate with other decor elements in the room.
Our built-in shelf, which was a window at one point long before we owned the house, still needs a little decorative assistance. For now, it displays my serving dishes and a few plants given to me by my sister out our open house.
Those baskets are great for hiding the little stuff I don't use very often, like our gravy boat, sugar & creamer set and some candles.
On the opposite side, I have a small shelf and a mirror made from an old window. You can kind of see our dishwasher (black part of the peninsula counter). I was part of the eBay kitchen and we made an offer on it while we were there removing the cabinets. I'm so happy we have a dishwasher! (Who wouldn't be, right?) It seems to blend in well because it's black, but one day I hope to replace it with a stainless model to match the rest of the appliances. For now, it works and doesn't look too bad. That's good enough for me!
The mirror was purchased at Goodwill for $5. I bought the shelf at a yard sale for $2 and painted it. It's the perfect size for this space and gives us some much needed storage for glassware and a couple serving pieces. This wall still needs some more decorations.
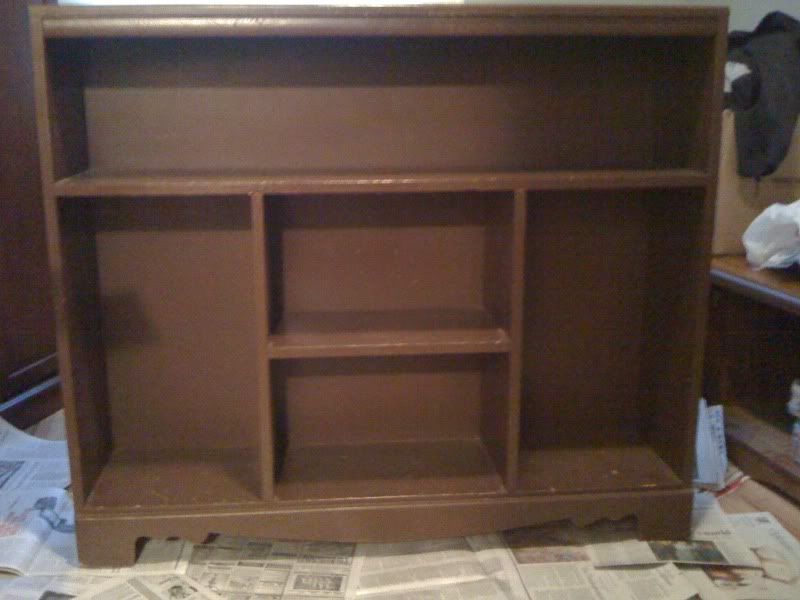
Just for the fun of it, here is the shelf before I painted it. Paint is like a magic wand.
Here's a good shot of our light fixture, with the lights out for a better look. It was purchased at Lowe's and installed by me. Electric work is a little scary, but you can do it! Just be sure to kill the circuit breaker! The artwork in the dining area (can I call it a dining room?) is also from Joann's.
And here are our floors! A tremendous amount of hard work was put into these, but it was worth the effort! I'm still amazed by how good the wood looks. I was so discouraged when we saw the tile beneath the carpet. My dad told me the sander would make it better. He was right! The kitchen tile is ceramic and we chose it in a slate color to coordinate with the counters.
My kitchen makes me so happy! Lots of cakes and cupcakes will be made here!
We moved into our house in April. I told you I was a big slacker with posting pictures! Although, hanging stuff on the walls was one of the things we didn't do until last week, after deciding to host the open house. I think that after patching so many holes, we were a little hammer shy when it came to putting any new nails in the walls. It's amazing how hanging a framed print or some curtains can really dress up a space and make it look more finished.
Things we still have to do in this space include:
- Find a corner hutch for the dining area
- Add some more decorative elements for the walls and shelves
- Finish sewing the curtains for both windows. I bought some aqua-ish blue fabric, but ran out of time before the open house.
- Purchase new stools and dining chairs. The current stools were picked up by Chris' mom at a rummage sale and the dining table and chairs came from my parents' neighbors. Er, umm...from my parents' neighbors' junk pile on neighborhood clean-up day. Yeah, that's how we roll!
And, here's a little breakdown on some of the details:
- Cabinets - purchased on eBay (I won the auction by 3 cents!) and painted with Ace Hardware's Cabinet and Trim paint in Contemporary White. (This paint is amazing! Our cabinets have a smooth, brushstroke-free finish.)
- Appliances - All from Sears. The fridge is LG and the stove and microwave are Frigidaire Gallery.
- Paint - Walls are "Linen" and trim/shelves are "String of Pearls". Both are by Valspar from Lowe's
- Subway tile back splash and ceramic floor tile - Home Depot
- Light fixtures - Lowe's
Thanks for checking out this extremely long and picture-heavy post! I'm super proud of all the hard work we did and of how we were able to complete the whole project on a limited budget. Our only splurge was the stainless appliances, and I think they were worth it! Of course, we would never have been able to do all of this alone. Our parents, especially Chris' dad, were amazing in helping with everything!
I'm planning on doing some posts very soon on my little vegetable garden and also on the buffet of mini desserts I put together for the open house. So, stay tuned for yummy treats! And, of course, I'll have to get around to taking some photos of the rest of the house.